TABLE OF CONTENTS
About Kaltura Media
Kaltura is a media sharing platform integrated into myLesley and offers a secure environment for faculty and students to share media (audio and video) content privately or with others in the course. You may add media directly to your Course Content area (instructors only) or anywhere you see the text/content editor (including Assignments, Discussions, Journals, Ultra Documents (faculty only), etc.).
Kaltura provides a lot of advantages, including:
- Compatibility: Kaltura Media will accept a large amount of media types and automatically convert them to versions your students can view, regardless of their device.
- Accessibility: Kaltura Media will automatically caption your media content. Accurate captioning of audio and video content ensures that people who are Deaf and hard of hearing can understand your content. Additionally, captions are very useful to non-native English speakers, viewers watching in a sound-sensitive environment, can help viewers with learning disabilities or attention deficits maintain concentration, and can help all learners improve comprehension.
- File Size: Viewers do not have to download content. Instead, the media is hosted on Kaltura's servers and streams through myLesley. Uploading your media to Kaltura does not impact your overall course or organization file size (all courses have a 5 GB data limit and organizations have a 50 MB data limit).
- Privacy and Security: Kaltura Media content cannot be downloaded by anyone who is not the owner, nor can it be shared on other websites.
Add Media in Your Course
You may add media directly to your Course Content area (instructors only) or anywhere you see the text/content editor (including Assignments, Discussions, Journals, Ultra Documents (faculty only), etc.).
Mobile Users: You may upload content into Kaltura Media using either the Blackboard app or your mobile browser.To add Kaltura Media content directly to your Course Content page (or within a Learning Module or Folder), click the + button and select Content Market.

To add Kaltura Media content from the text/content editor (ex Assignments, Discussions, Journals, Ultra Documents (faculty only), etc.), click the Insert Content (+) button in the content editor. This will open a menu. Select Content Market.

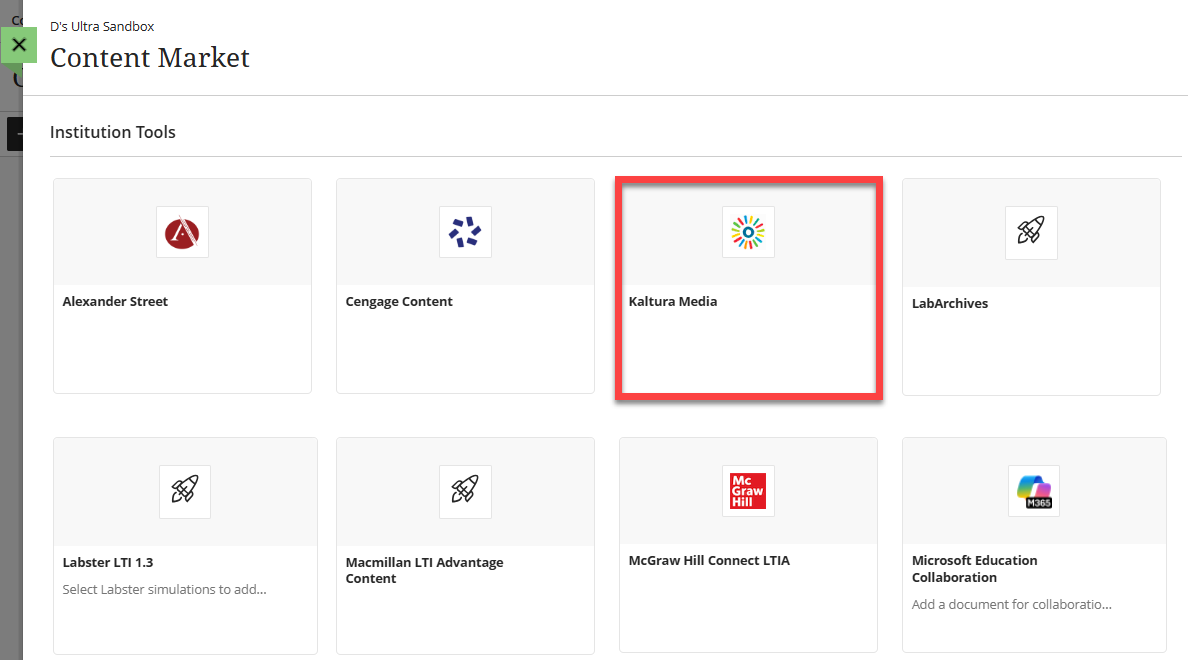
This will bring you into the Content Market. Select Kaltura Media.
This will take you to your Kaltura My Media, where all of your Kaltura media is stored. From here, you may upload new media, embed media you uploaded previously, or record new media.
To upload media from your computer or device, click on the + Add New button at the top of the page. This will open a menu. Select Media Upload.

This will open a new window. You may drag and drop your file to the Media Upload area or click Choose a File to Upload to locate a file on your computer.

Once you have selected your file, your media will begin to upload. Depending on the size of your file and your connection speed it may take several minutes.
Once your media has uploaded, you will be prompted to edit the title and (optionally) add tags and a description. Once you have finished, click Save and Embed.

You will then be brought back into your course and the Insert Content Market Item window will pop up. You may edit your media's display name and click Insert.

Your media will be embedded into your content. Make any other changes to your content and Save or Submit.

Additional Resources
Edit Captions in Kaltura Media
When you upload a video to Kaltura Media, Kaltura will automatically caption your content using automatic speech recognition (ASR), commonly known as machine captions. Machine captions are considered to be 85% accurate and accuracy may vary depending on the audio quality, clarity of speech, background noise, etc. We recommend using the machine captions as a starting point and editing them for accuracy.
For more information and detailed instructions, refer to the Kaltura Media: Captioning Video Content support article.
Record a Presentation and Share it in myLesley via Kaltura Media
This guide walks you through how to record a narrated presentation using Zoom or PowerPoint, save it as a video file, and share it in your myLesley course via Kaltura Media.
Refer to the Record a Presentation and Share it in myLesley via Kaltura Media support article for detailed instructions.
Use the Express Recorder
Kaltura's Express Recorder allows you to record directly from your browser without the need to install any additional software. You can record any combination of your webcam, microphone, and screen.
Refer to the Kaltura Media Express Recorder support article for detailed instructions.
Video Recording Tips
The following guide provides some tips for recording video: Video Recording Tips.
Manage Your Kaltura Media
Your Kaltura My Media is a private space where you may upload and manage your media content. Here, you can view all of your Kaltura Media content, upload new media, edit your media's options, add collaborators and co-publishers, edit captions, create clips from your videos, delete videos, publish videos to the Course Media Gallery, and more.
Refer to the Manage Your Kaltura Media (My Media) support article for more information and detailed instructions.
Edit Videos in Kaltura Media
The Kaltura Media Editor allows users to trim the beginning or end of videos, create clips, and splice then remove (chop) portions of a video.
Refer to the Edit Videos in Kaltura Media support article for detailed instructions.
Was this article helpful?
That’s Great!
Thank you for your feedback
Sorry! We couldn't be helpful
Thank you for your feedback
Feedback sent
We appreciate your effort and will try to fix the article