TABLE OF CONTENTS
- About the Kaltura Video Editor
- Launch the Kaltura Video Editor
- Video Editor Window Layout
- Edit Your Video
- Additional Editing Tools and Features
About the Kaltura Video Editor
The Kaltura video editor is a simple yet powerful tool for editing any video uploaded to Kaltura. In this guide, you'll learn how to use the editor to easily trim, clip, chop and splice your videos.
Watch the How to use the Kaltura Video Editor tutorial below for an overview of the tool.
Launch the Kaltura Video Editor
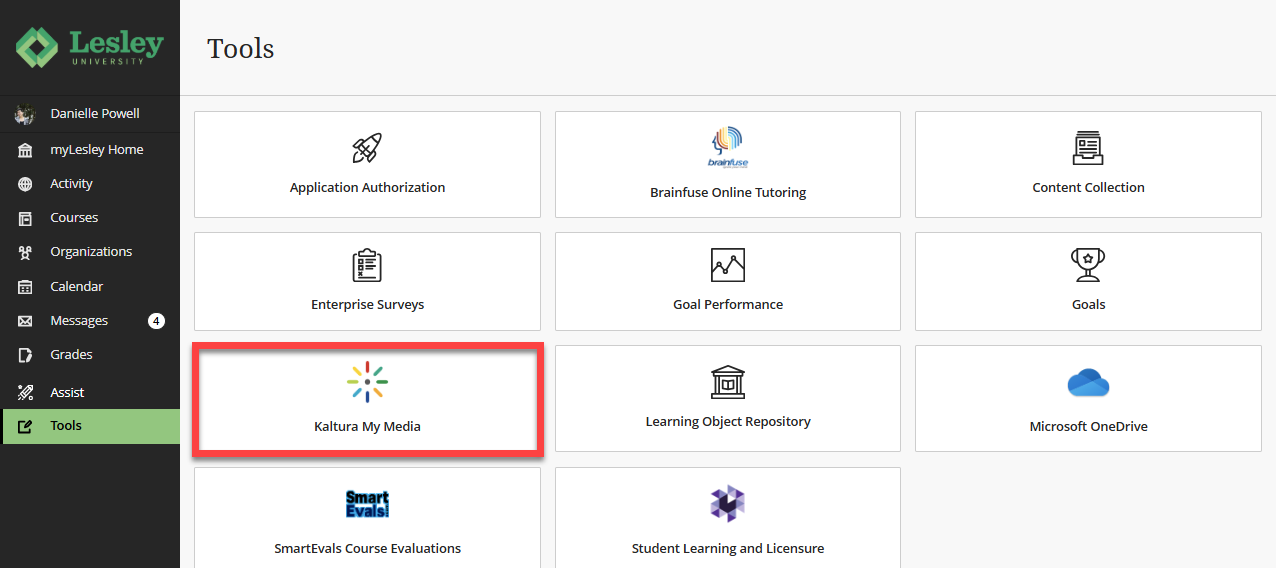
You can launch the video editor from your Kaltura My Media. Go to myLesley and click on the Tools link in the Global Navigation menu. This will bring you to the Tools area. Select Kaltura My Media.
If prompted to allow Kaltura authorization, click Allow. You should only need to do this once.

Locate your media, and click on the edit (pencil) icon.

This will bring you to the Edit Media page. Click on Launch Editor to launch the video editor.

This will open the Video Editor. Here, you can trim, clip, chop, and slice your video.

Video Editor Window Layout
The editor has three main areas:
- The Left Pane displays your media details. You may minimize this pane by clicking the open/close button.

- The Right Pane contains your media player and controls (play, pause, skip to start, skip to end) so that you can preview your edits.

- The Bottom Pane contains the timeline and all of the editing tools.

Edit Your Video
Use the timeline tools to easily trim, clip, chop and splice your video.
Trim Your Video
You can use the timeline tools to remove unwanted content from the beginning or end of your video.
Set your video's start and end times by using any of these methods:
- Click on the timeline to activate the handlebars. Drag the handlebars to where you would like the video to start and stop.
- Click on the real-time marker and move it to the desired position on the timeline. Click the set in or set out button to snap the handlebars into position.
- Play the video in the media player and pause at the desired time. The real-time marker will position itself on the timeline at the selected time. You can then click the set in or set out button to snap the handlebars into position.

Once you have set your start and end times, play your video to preview the edits.
Note: The timeline always reflects the original video's timespan. After editing, you may see white gaps on the timeline where trimming, or clipping occurred.
Click Save to permanently change your media entry. This action cannot be undone.

Create a Video Clip
You can use the timeline tools to create a short video clip from a longer video. For example, you may want to share a short highlight or lesson from a longer recording. Your clip will be saved in your Kaltura My Media as a new media entry.
Create your video clip by setting start and end times using any of these methods:
- Click on the timeline to activate the handlebars. Drag the handlebars to where you would like the video to start and stop.
- Click on the real-time marker and move it to the desired position on the timeline. Click the set in or set out button to snap the handlebars into position.
- Play the video in the media player and pause at the desired time. The real-time marker will position itself on the timeline at the selected time. You can then click the set in or set out button to snap the handlebars into position.

Once you have set your start and end times, play your video to preview your edits.
Note: The timeline always reflects the original video's timespan. After editing, you may see white gaps on the timeline where trimming, or clipping occurred.
Click Save a Copy to save your clip. You will be prompted to enter a title for your new media entry, which will be saved in your Kaltura My Media.

Chop and Splice Your Video
You can use the timeline tools to chop and splice your video. Chopping cuts and removes a section in the middle of a video and splicing joins the remaining sections together. Kaltura's Video Editor does this automatically, so you don't need to move the cut segments yourself.
Click on the real-time marker and move it to where you want to cut the video. You may also play video in the media player and pause at the desired time. The real-time marker will position itself on the timeline at the selected time.
Click the Split (scissors) button to set where you want your cut section to begin.

Next, click on the real-time marker and move it where you want your cut section to end and click on the Split (scissors) button again. Click on the section you want to remove (it will have a yellow border around it) and click the delete (trash can) button.

Your cut section will disappear and Kaltura will automatically splice the remaining segments so you won't need to drag them together on the timeline.

When you chop and splice your video you may want to add a fade effect to ease the transition between your sections. To do so, click on the first segment and click the Fade button above the timeline. In the Out box, enter a time between one and two seconds.

Then, click on the second segment and click the Fade button above the timeline. In the In box, enter a time between one and two seconds.

Once you have finished, play the video to preview your edits.
Note: The timeline always reflects the original video's timespan. After editing, you may see white gaps on the timeline where chopping, trimming, or clipping occurred. These gaps don’t indicate pauses in the edited video but show where you could extend the playtime if needed.
Click Save to permanently save your media entry. This action cannot be undone.
Or click Save As to save a copy of your video. You will be prompted to enter a title for your new media entry, which will be saved in your Kaltura My Media.
Additional Editing Tools and Features
Zoom Function
For more precise editing, use the Zoom function to adjust your view of the timeline. Once you zoom in, a scroll bar appears underneath the timeline. which you can use to scroll through your video.

Redo/Undo and Reset
Click the Redo or Undo buttons to redo or undo recent changes. Or click the Reset button to revert to the last saved state. If you reset, you will lose any changes that you have made.

Show/Hide Audio
Click show/hide audio to to show or hide the audio track while you are ediitng (audio displays by default).

Was this article helpful?
That’s Great!
Thank you for your feedback
Sorry! We couldn't be helpful
Thank you for your feedback
Feedback sent
We appreciate your effort and will try to fix the article