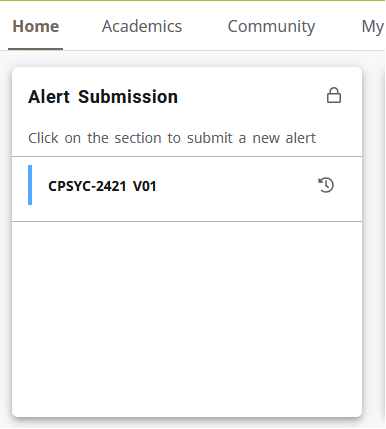
As of September 2026, the access point for filing a student alert has changed from Advise to Experience. You will find the Alert Submission card in the top left of your Experience Home page.
Follow the steps below to file a student alert. Alerts will be assigned to the student's academic advisor in Advise. Reference this Best Practices for Filing Alerts article.
- Step 1: Log in to Experience and locate the Alert Submission card.
- Step 2: Access the applicable course section.
- Step 3: Select the student(s) and then click on Create Alert.
- Step 4: Use the drop-down to select the Alert Type that is most applicable to the situation.
- Step 5: Add Notes.
- Step 6: Review and Submit Alert.
- Step 7: Alert Follow-Up
Instructions
Step 1: Log in to Experience and locate the Alert Submission card.
|  |
Step 2: Select a course section to see students.
Please note: Cross-listed sections show separately, unlike myLesley where they are combined under the primary section. | 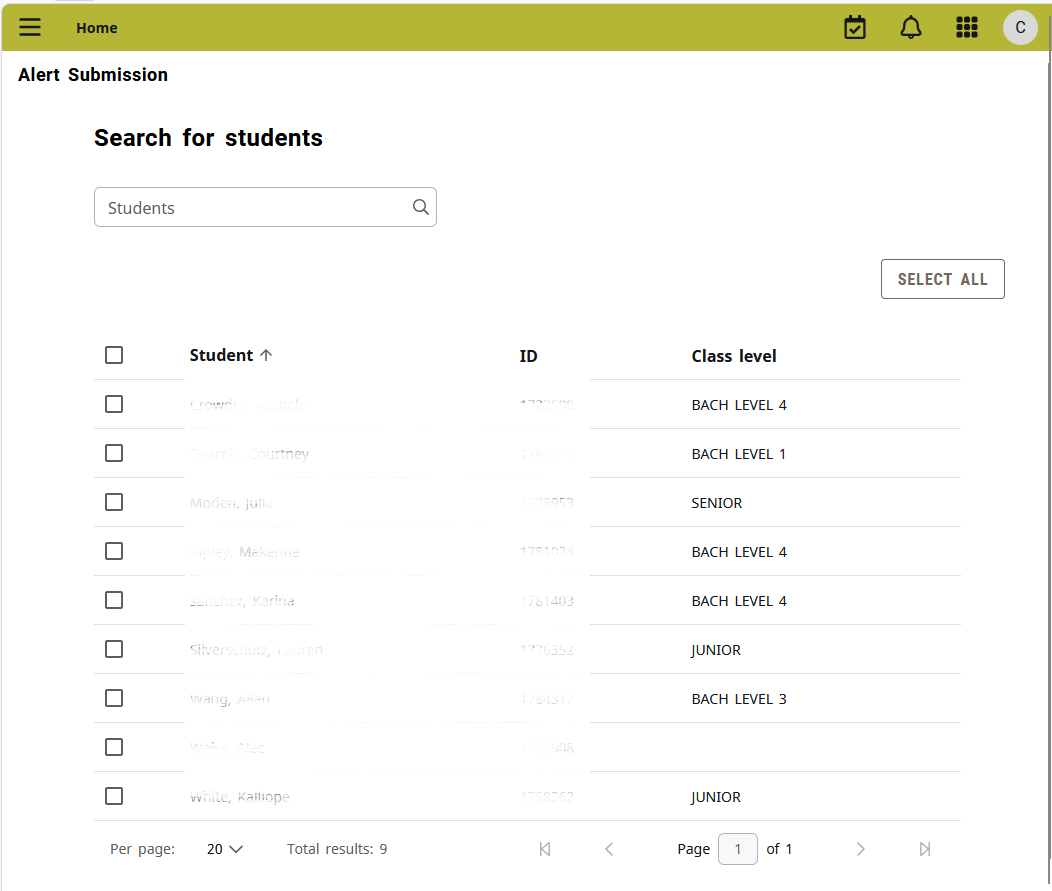 |
Step 3: Select the student(s) and then click on Create Alert.
If there is more than one student in this section with the same concern or distinction, you can select multiple students. | 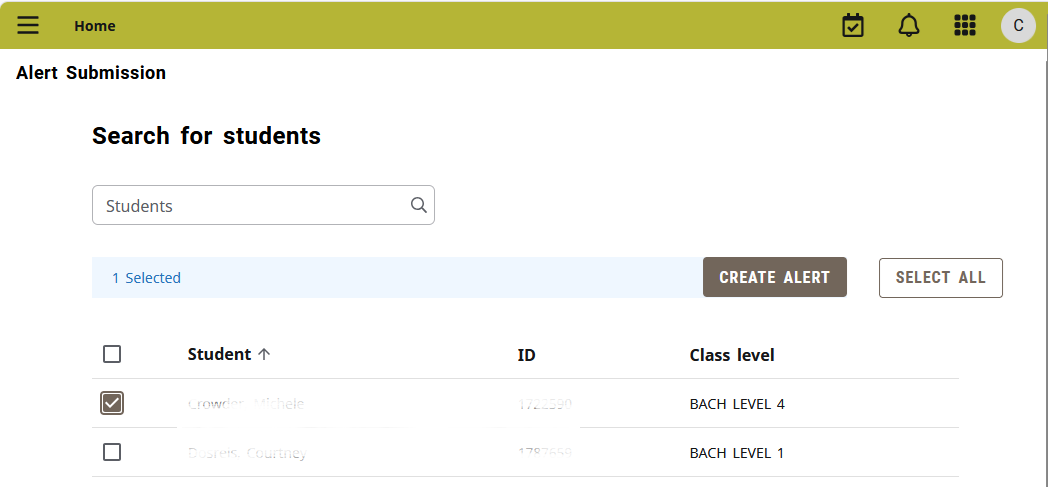 |
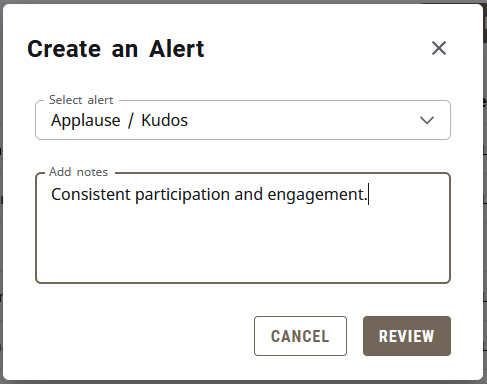
Step 4: Use the Select alert drop-down to select the Alert Type that is most applicable to the situation. | 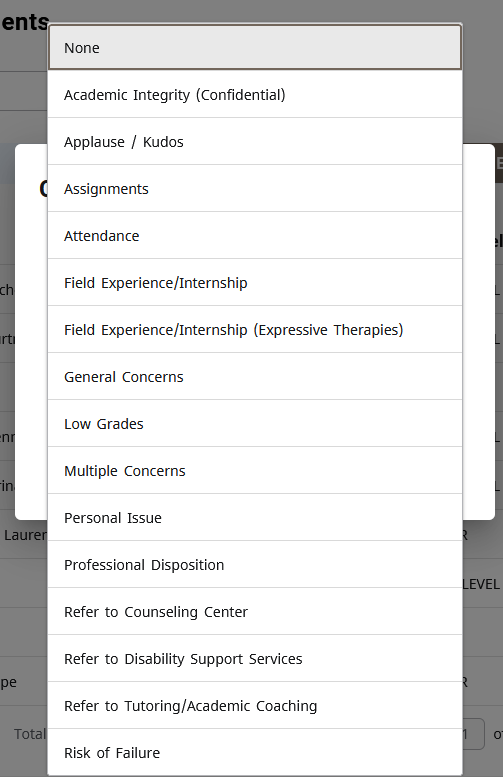 |
Step 5: Add Notes.
|  |
Step 6: Review and Submit Alert.
| 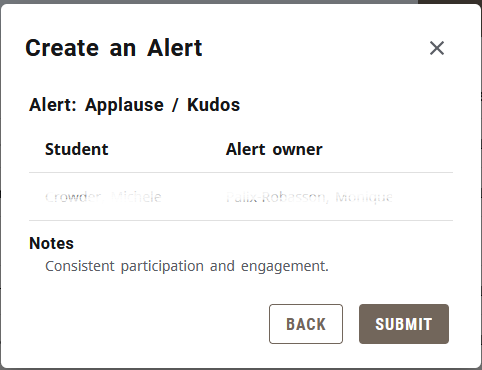 |
Once you have filed an alert, you will be copied on an email from adviseadmin@lesley.edu to the student's academic advisor informing them of the alert you've created.
Most Alerts generate an automated email to the student. Reference this document for the content of the alert-specific email communication. Alert Types and Email Communications
Step 7: Alert Follow-Up
You are encouraged to follow-up with advisors concerning the alert(s) you have filed. You can do this by replying to the alert notification email from adviseadmin@lesley.edu that is generated when you filed the alert, since it includes the advisor to whom the alert was routed. This lets the advisor know that students are or are not making progress.
Was this article helpful?
That’s Great!
Thank you for your feedback
Sorry! We couldn't be helpful
Thank you for your feedback
Feedback sent
We appreciate your effort and will try to fix the article