TABLE OF CONTENTS
- About Kaltura Course Media Gallery
- Accessing Your Course Media Gallery
- Add Media to your Course Media Gallery
- Managing the Course Media Gallery (Instructor)
About Kaltura Course Media Gallery
The Media Gallery is a library of videos for a particular course that is visible to all instructors and students within the course. Users can contribute new media items to the Media Gallery or add media items from their My Media.
Accessing Your Course Media Gallery
You may access your course's Media Gallery from your Course Content page.
In some cases, your instructor may have added a link to the course media gallery directly on the Course Content page or within a Learning Module or folder.
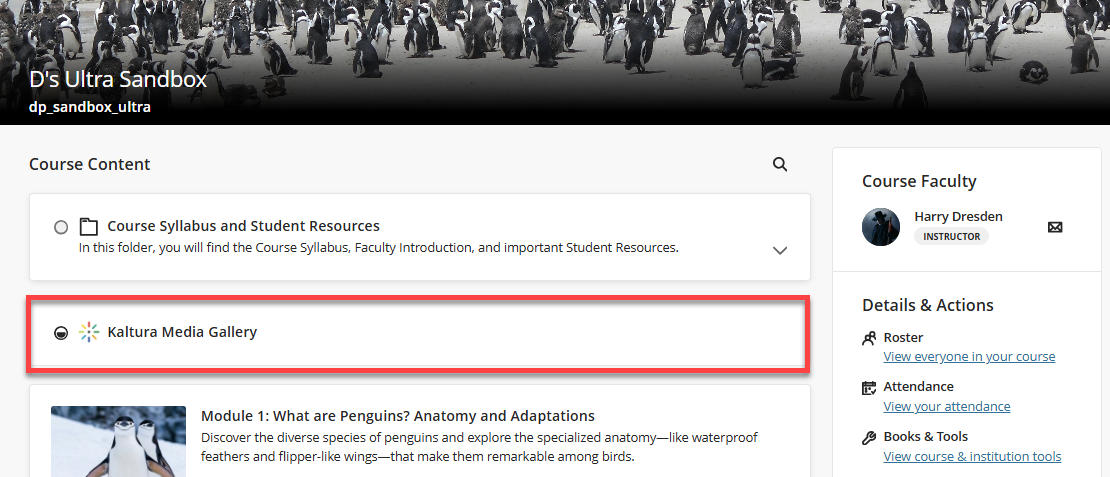
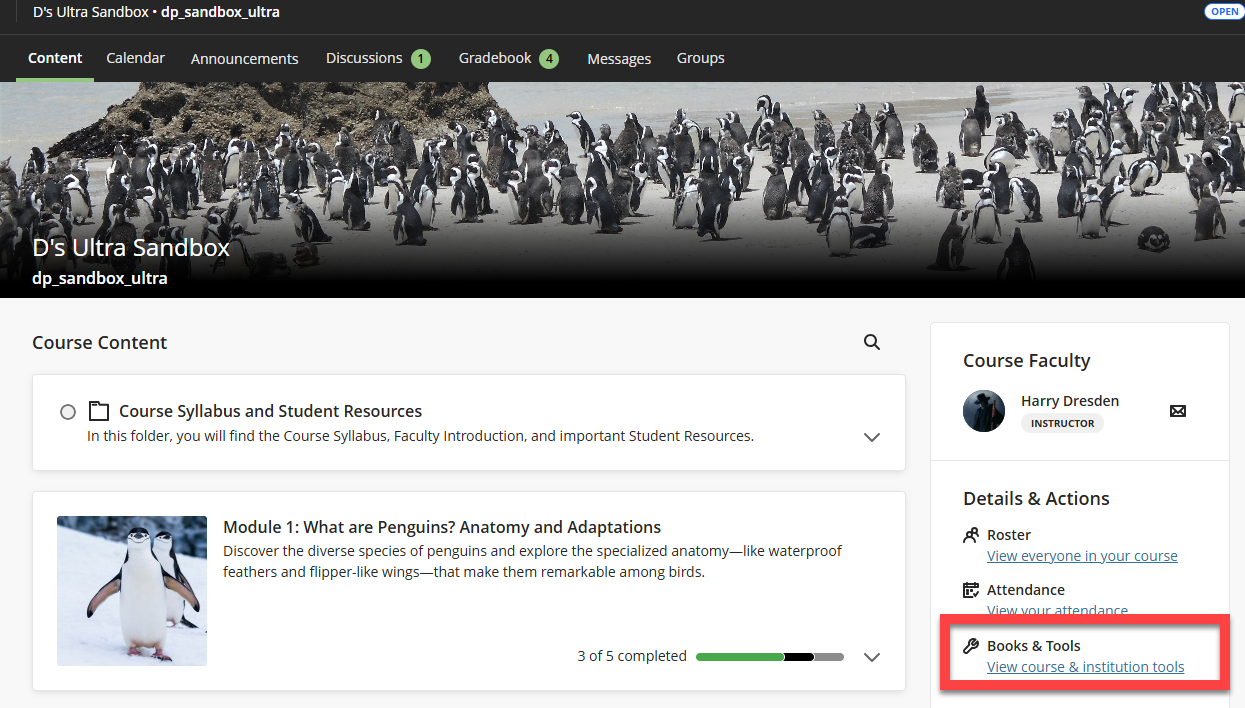
If your instructor did not add a direct link on the Course Content page, you may access the Media Gallery from the Books & Tools area. In the Details & Actions panel, select View course & institution tools.
This will open the Books & Course Tools panel. Select Kaltura Media Gallery.

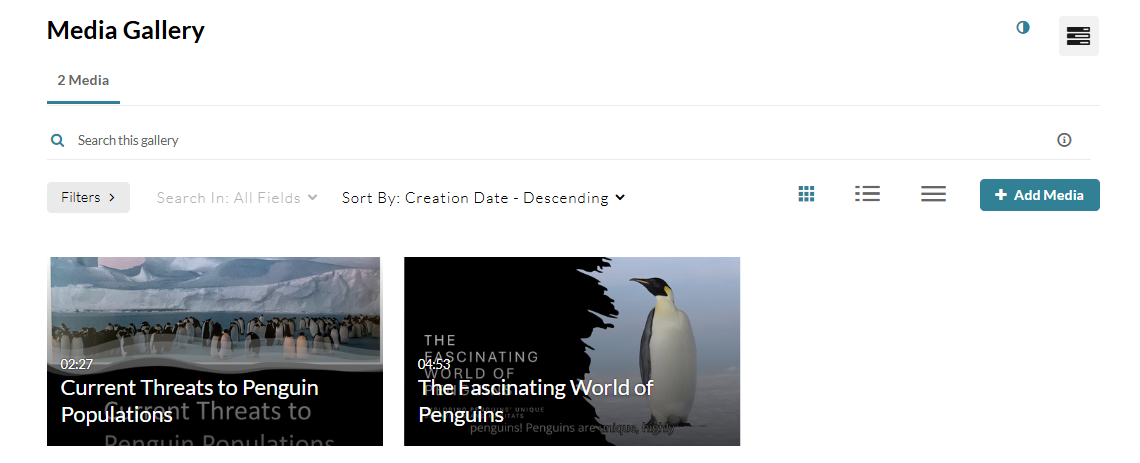
You will be brought into your course Media Gallery.
Add Media to your Course Media Gallery
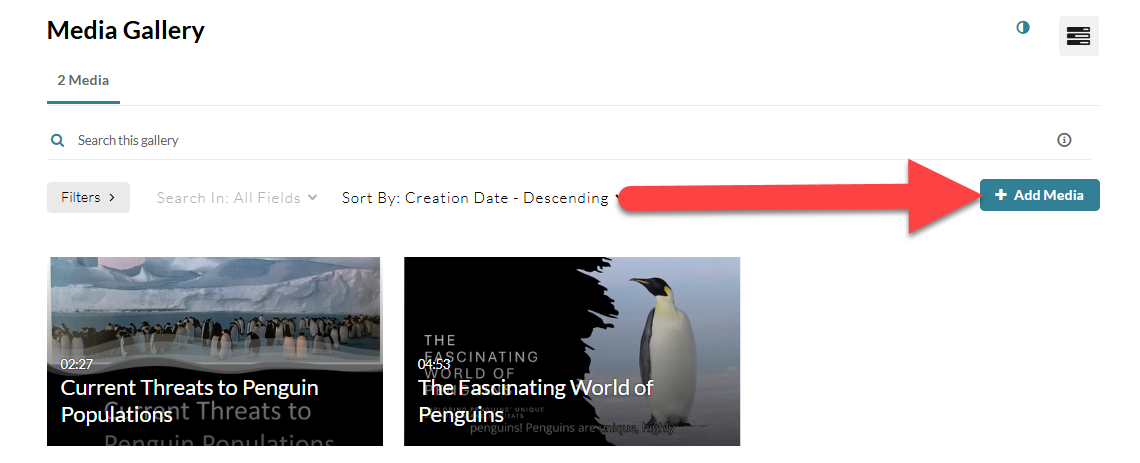
To add content to the Media Gallery, go to the course Media Gallery and click the Add Media button at the top of the page.
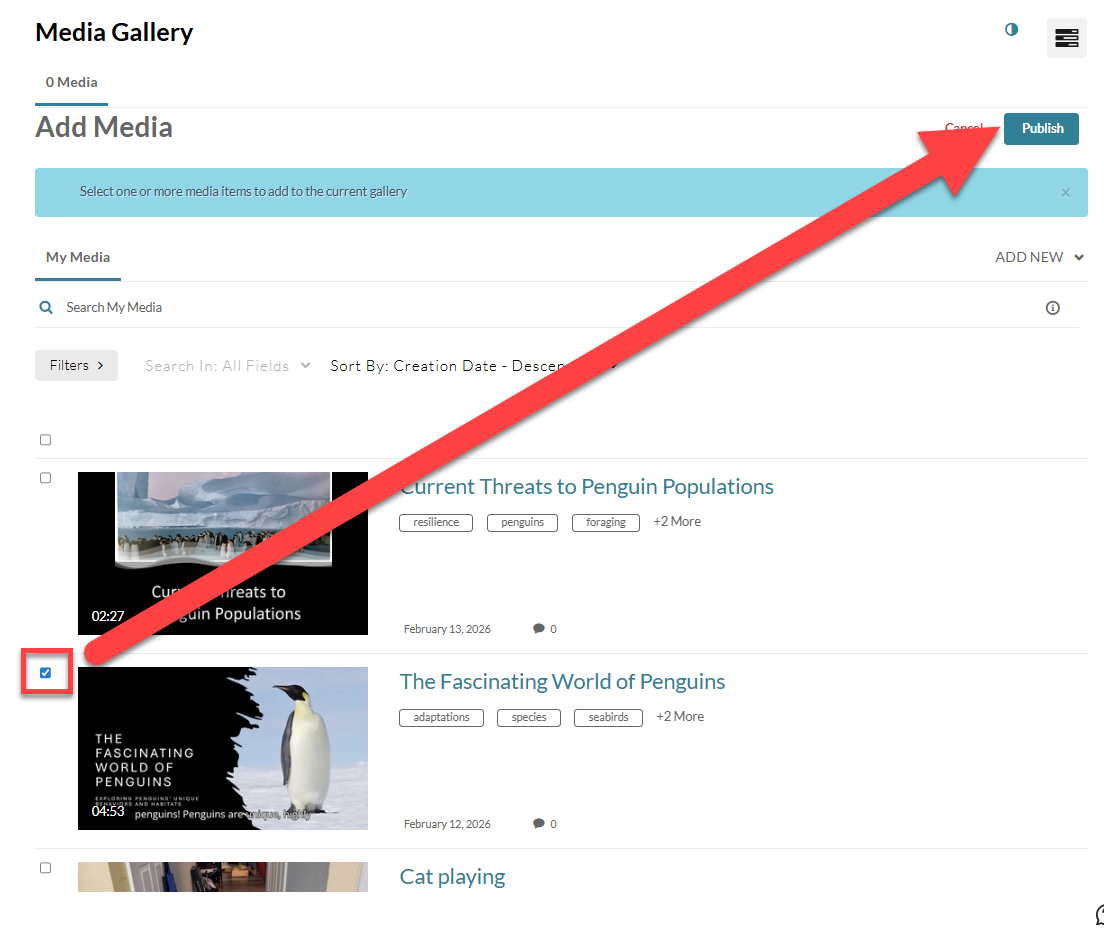
This will bring up a list of your Kaltura Media. To upload a new media file, click the Add New button and upload a file from your device or use the Express Recorder to create a new recording. Your new media file will be added to your list.

Select a media file from your list and click Publish to add it to the Media Gallery.
Managing the Course Media Gallery (Instructor)
Add a Media Gallery Link to your Course Content Page
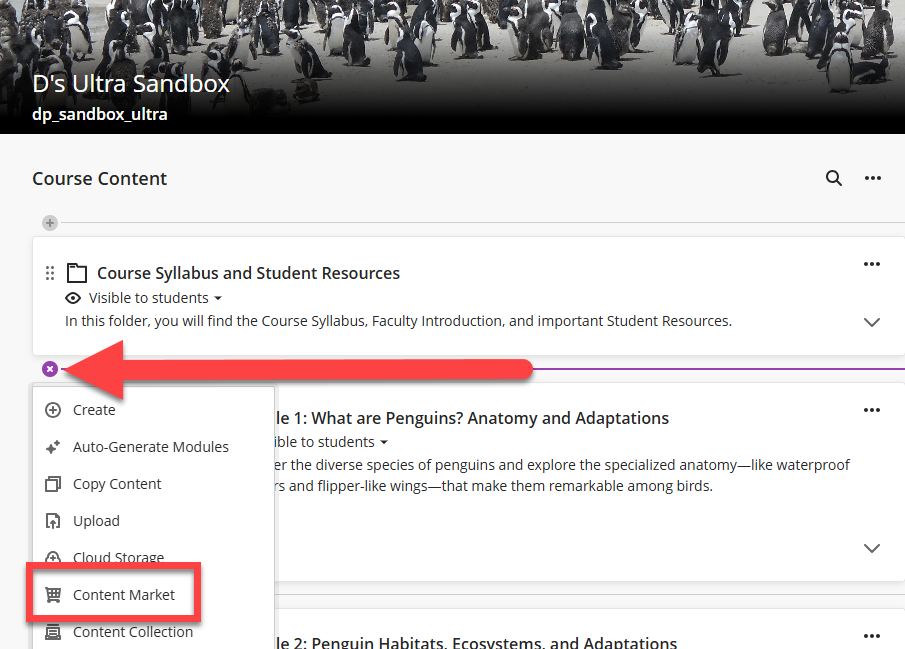
To make it easier for your students to find your course's Media Gallery, you may choose to add a link on your Course Content page. Click on the plus sign (+) anywhere on your Course Content page, within a Learning Module, or within a Folder. Select Content Market.
This will bring up the Content Market (a collection of integrated tools). Locate Kaltura Media Gallery and click on the plus sign (+).
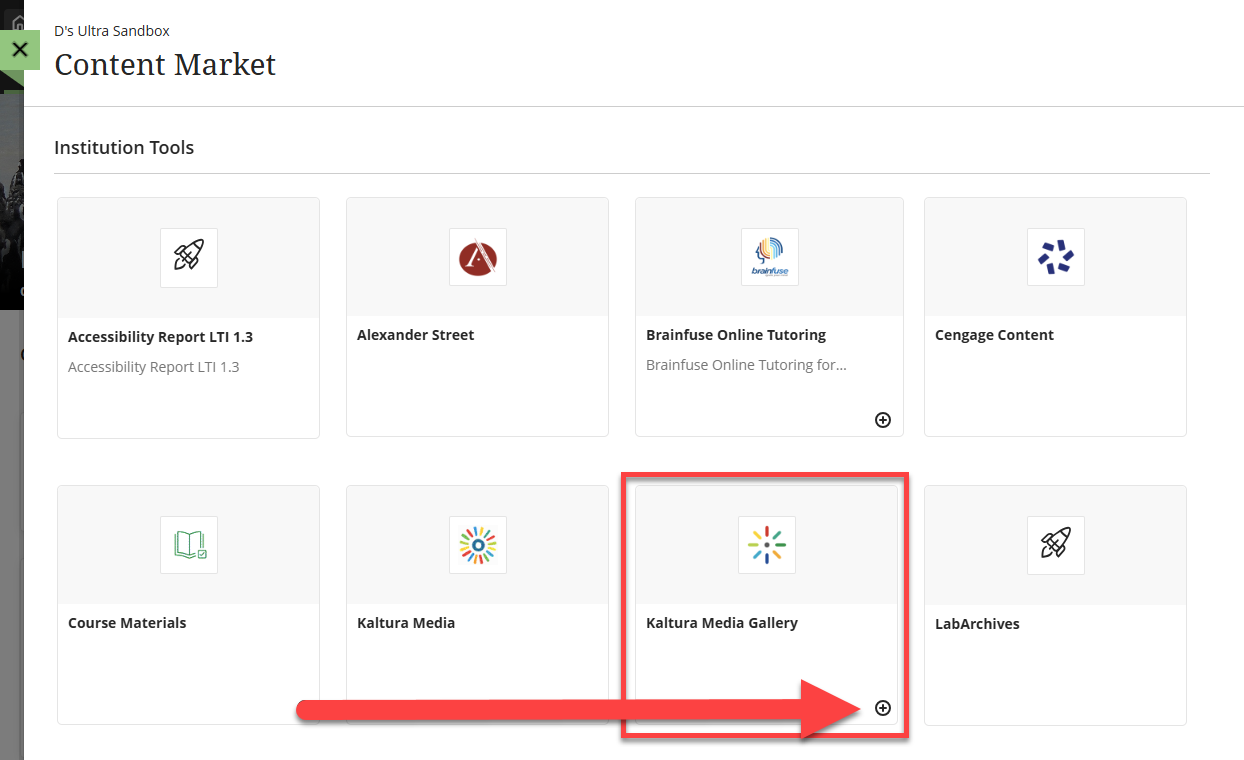
A link to Kaltura Media Gallery will be added in your Course Content area. It will be hidden from students by default but you may change the content visibility to make it visible to students.

Edit Media Gallery Settings
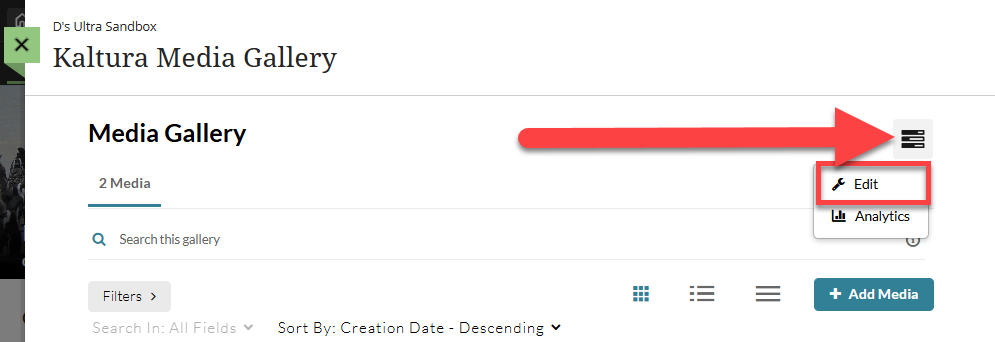
As the instructor, you may control how your Media Gallery content appears to students. To change or update your Media Gallery Settings, go to your Media Gallery and click the Actions button at the top of the page. This will open a menu. Select Edit.
This will open the Edit Media Gallery page. You may enter a description for your media gallery and update the Options.
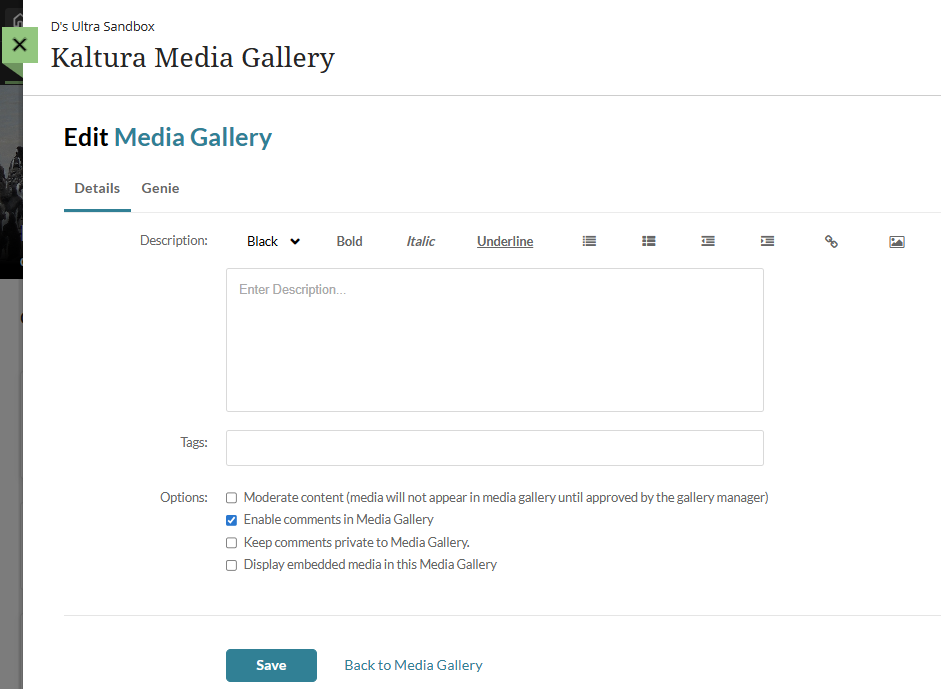
- Description: Enter a description that will display on your Media Gallery page.
- Tags: Enter descriptive tags to use in searches.
- Options: Choose additional settings for your Media Gallery:
- Moderate content: Select this option if you want to approve media before it gets published. (Media won't appear in the gallery until you approve them.)
- Enable comments in Media Gallery: If enabled, you and your students may add comments to the media in the Media Gallery.
- Keep comments private to Media Gallery: If selected, all comments added to media in Media Gallery will be private to the Media Gallery and will not appear elsewhere (except for the My Media page of the user who owns the media).
- Display embedded media in this Media Gallery: If this option is selected, all Kaltura Media embedded in your course content will also appear in the Media Gallery even if the page they’re on is hidden or has release conditions.
View Media Analytics
In the Media Gallery, Instructors may view the analytics of any video in the course (not just those in your course Media Gallery).
To view the analytics, go to your Media Gallery and click the Actions button at the top of the page. This will open a menu. Select Analytics.
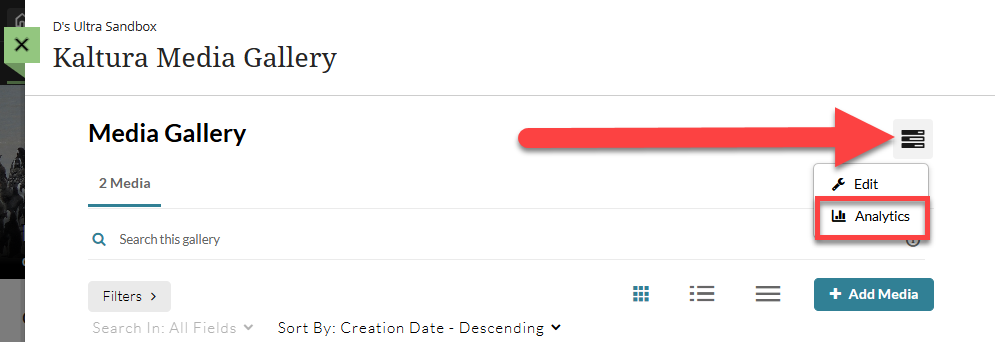
This will bring you to your Analytics Dashboard. Here, you can view highlights, page views, top videos, top viewers, insights, and more.
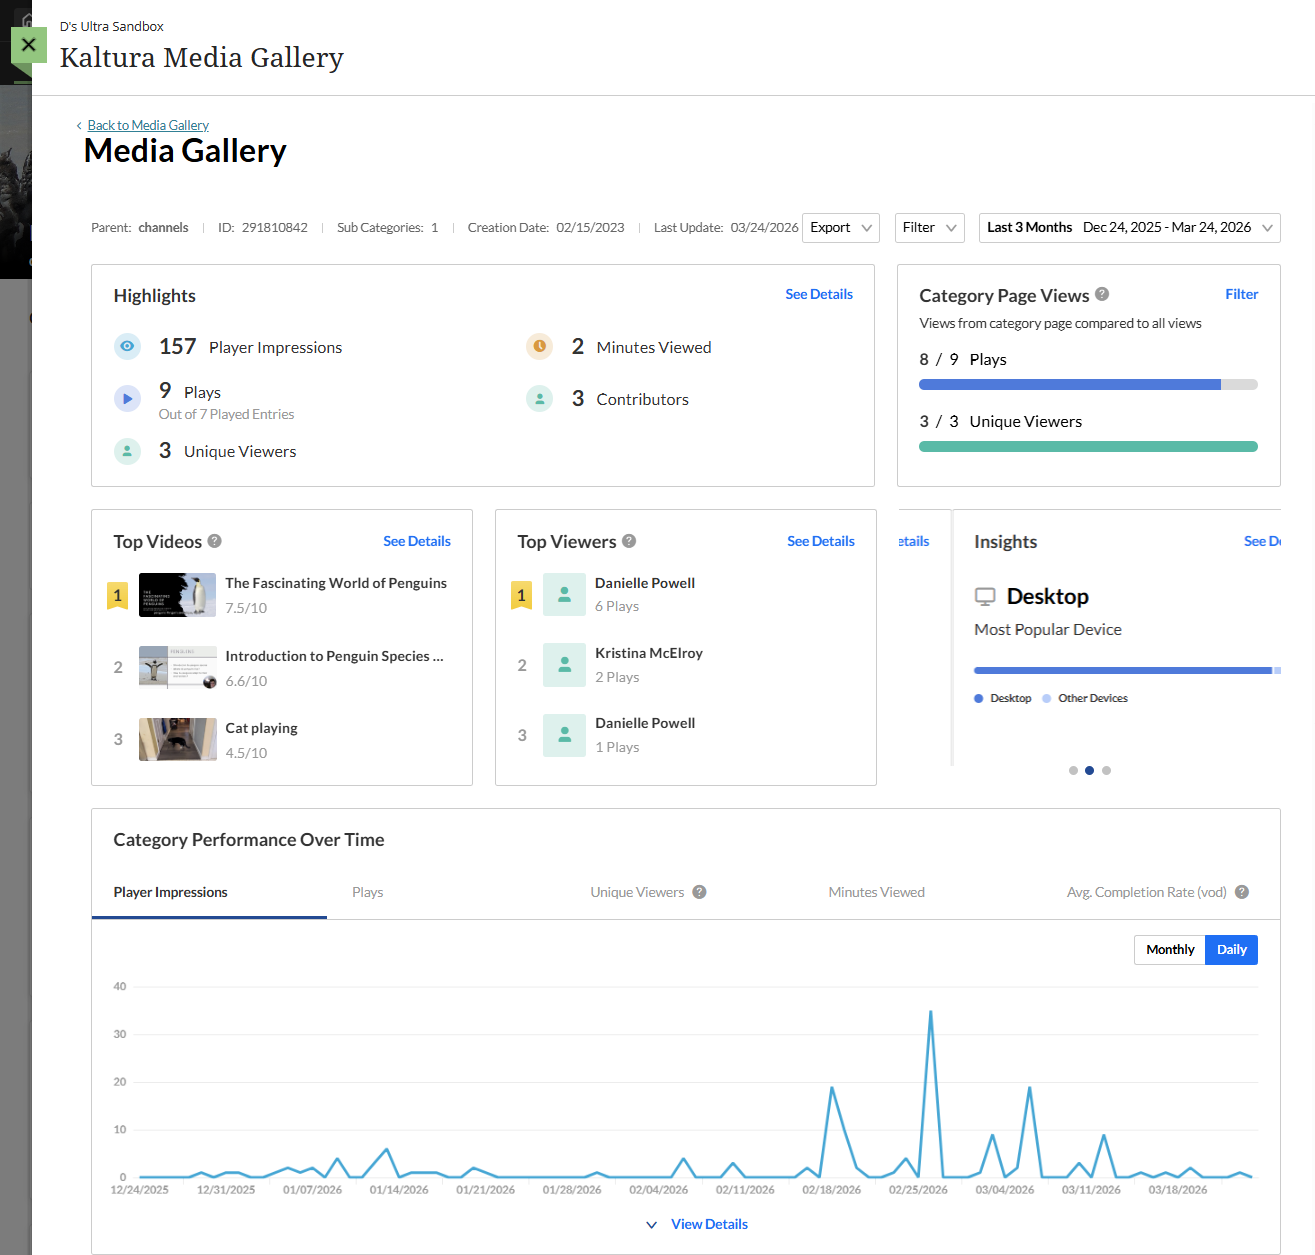
Refer to the Kaltura Media: Working with the Entry Level Analytics Dashboard support page for detailed information.
Was this article helpful?
That’s Great!
Thank you for your feedback
Sorry! We couldn't be helpful
Thank you for your feedback
Feedback sent
We appreciate your effort and will try to fix the article