TABLE OF CONTENTS
- About Blackboard Journals
- Create a Journal
- Manage Journal Settings
- View Journal Entries and Comments
- Grade Journals
About Blackboard Journals
A journal provides a personal space for students to communicate privately with you. You can use a journal as a self-reflective tool for students to post their opinions, ideas, and concerns or you can use it as a tool for students to analyze course-related materials.
For more information, refer to the Journals support page or watch the Create a Journal tutorial video.
Create a Journal
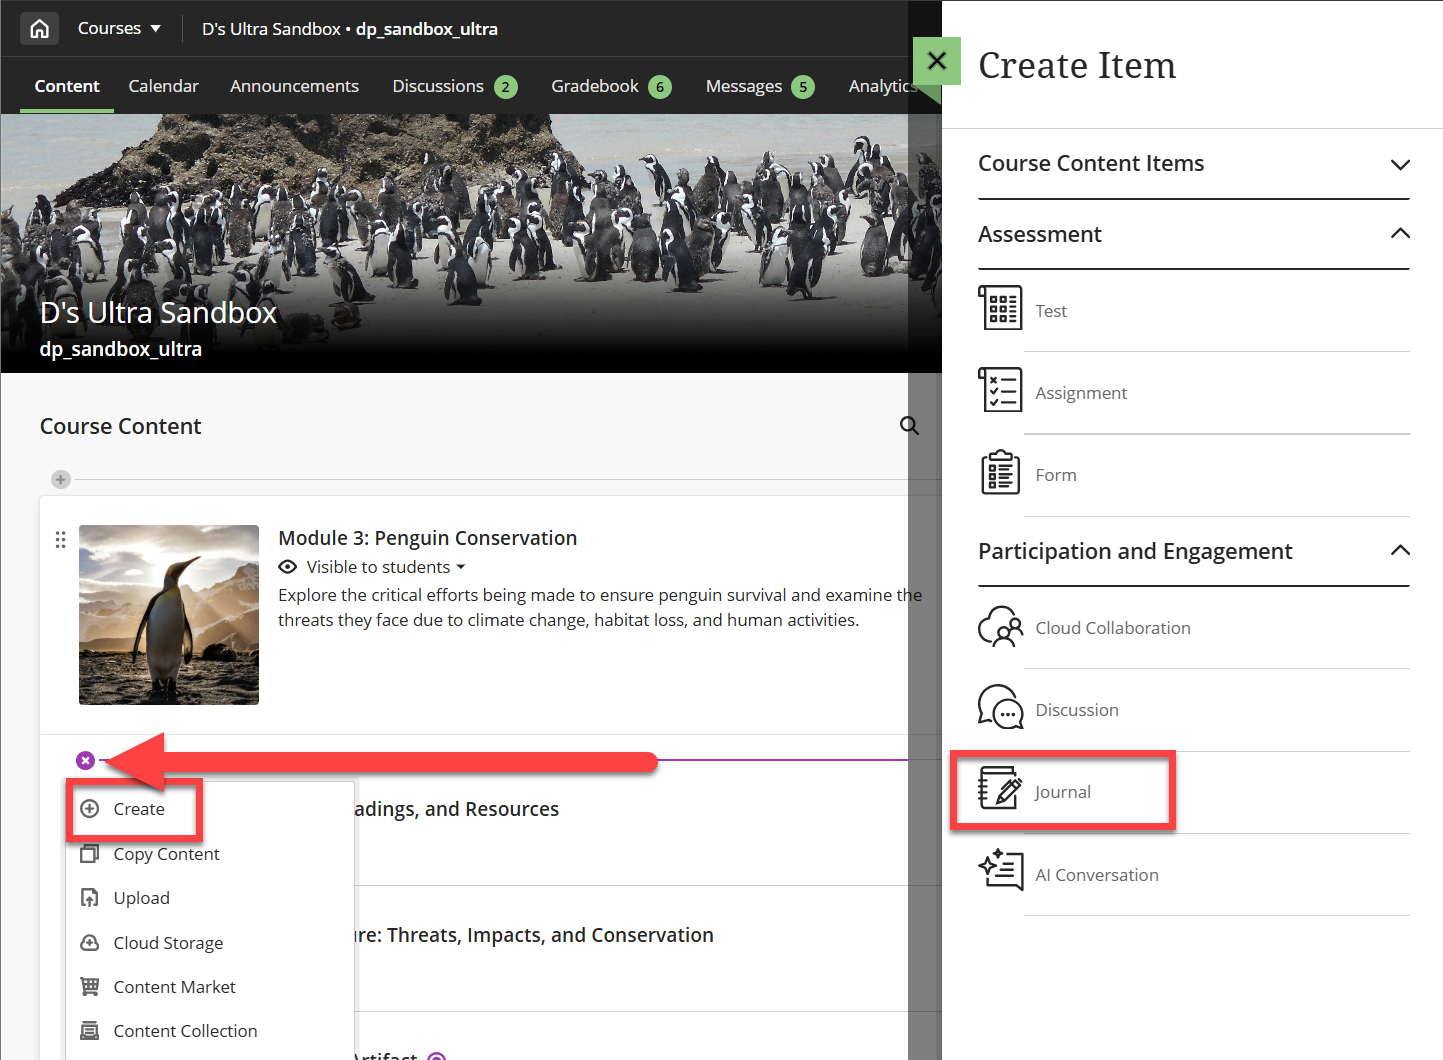
To create a Journal, click on the + button anywhere on your Course Content page, within a Learning Module, or within a Folder. Select Create to open the Create Item panel. In the Participation and Engagement section, select Journal.
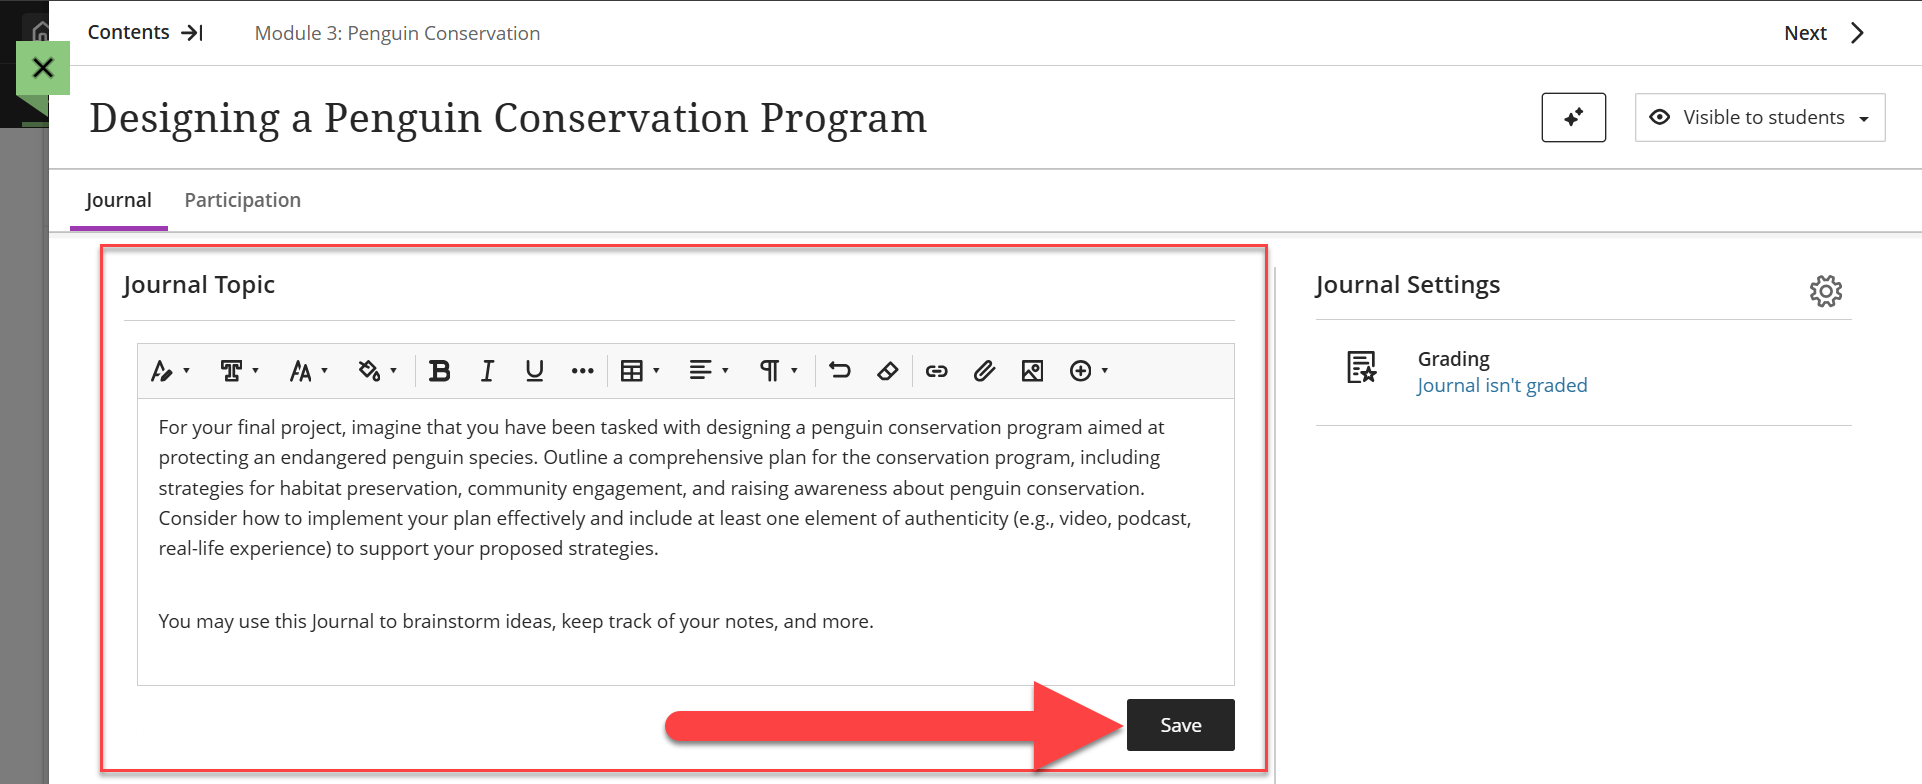
Give your Journal a name, select the visibility, and enter a topic. Use the Text/Content Editor to add any relevant links, images, attachments, and more. Click Save to save your topic.
Need assistance coming up with a Journal prompt? Utilize Blackboard AI Design Assistant to Auto-Generate Journal Prompts based on your course content.
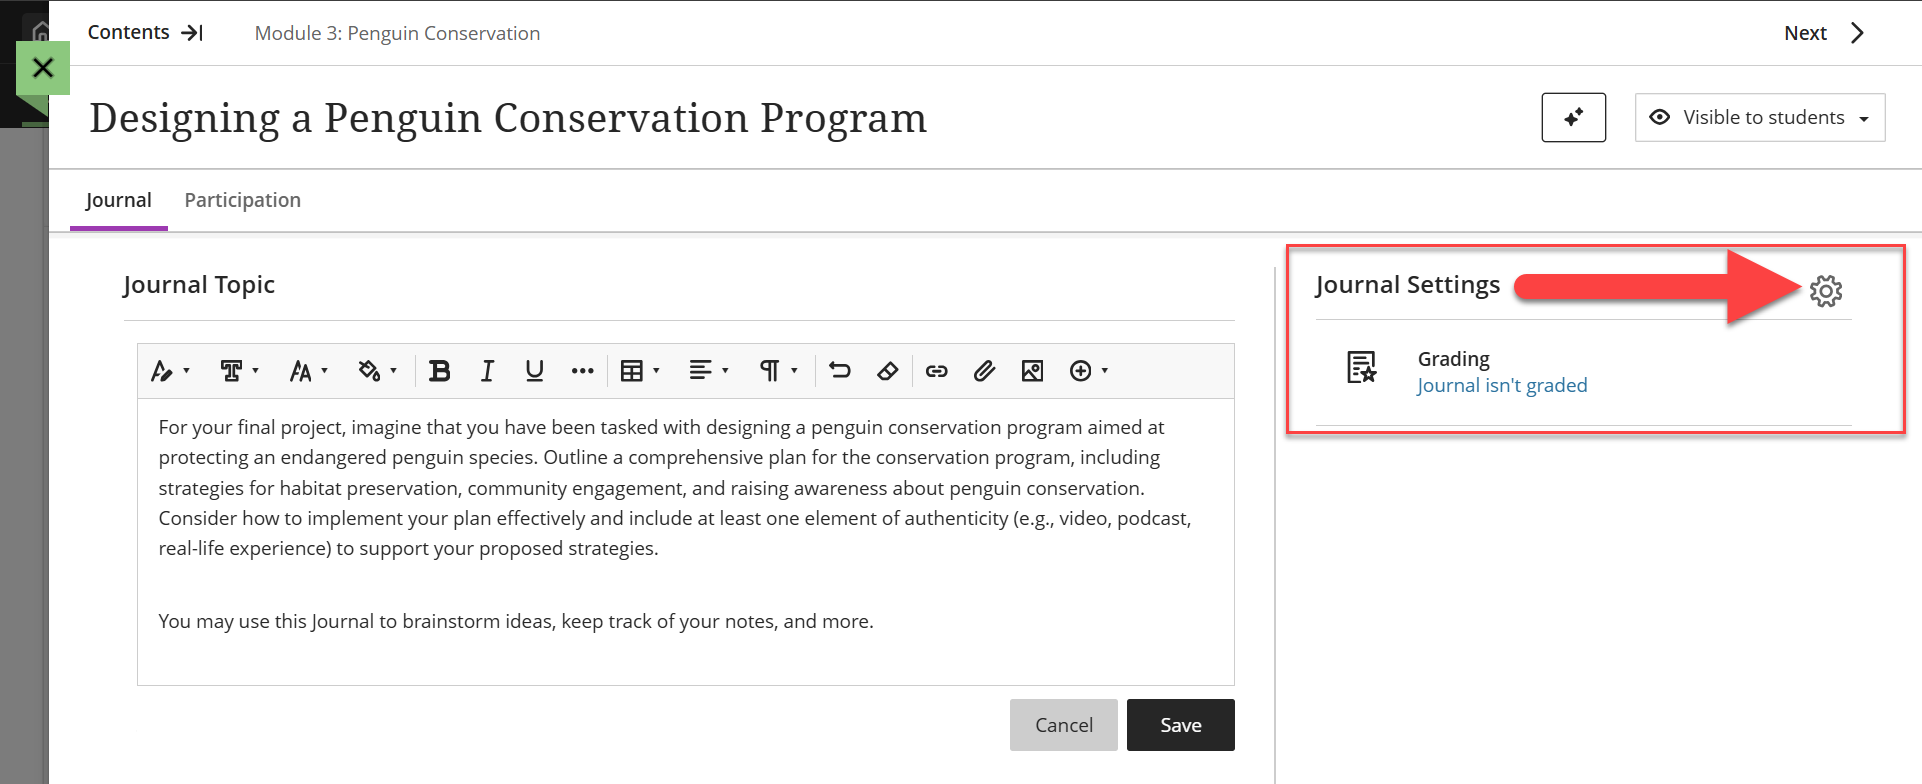
Click on the Journal Settings (gear icon) to open the Journal Settings Panel. Here you can add grading information, (including a due date, points possible, a grading rubric, etc.), and select whether students may edit or delete their own entries or comments.
Manage Journal Settings
Click on the Journal Settings (gear icon) to open the Journal Settings Panel. Here you can add grading information, (including a due date, maximum points, and the option to attach a rubric), and select whether students may edit or delete their own entries or comments.
Details & Information
 The Details & Information section contains basic journal details. Additional options will appear in the settings panel depending on the options you select.
- Grade Journal: If your journal will count for a grade, select Grade Journal. You can then add participation requirements and due dates, points, attach a rubric, etc.
- Allow users to edit and delete entries: Select this option to allow students to edit and delete their journal entries after they have been posted.
- Allow users to edit and delete comments: Select this option to allow students to edit and delete comments on their journal entries after they have been posted.
Participation & Grading
 If your journal will be graded, more options will appear in the settings, including a due date, maximum points, and the option to attach a rubric.
- Due Date: Assign a due date for your Journal. The due dates will appear on your students' Activity Stream and in their myLesley Calendar. If students submit their journal entries after the due date, their Journal will have a Late label in the Gradebook.
- Grade category: By default, your journal will be assigned to the Journal category. You may select a different category or create a custom category in the Gradebook. Refer to the Grade Categories support page for more information.
- Grade using: You may grade your journal using points, percentage, complete/incomplete, or letter. Refer to the Grading Schemas support page for more information.
- Maximum points: Enter the number of points your journal is worth (between 0 and 100).
Note: In graded journals, students receive a grade based on their total contribution, not each individual journal entry.Additional Tools
- Use grading rubric: You may attach a grading rubric to your journal. For more information, watch the Create Rubrics tutorial video or refer to the Rubrics support article.
View Journal Entries and Comments
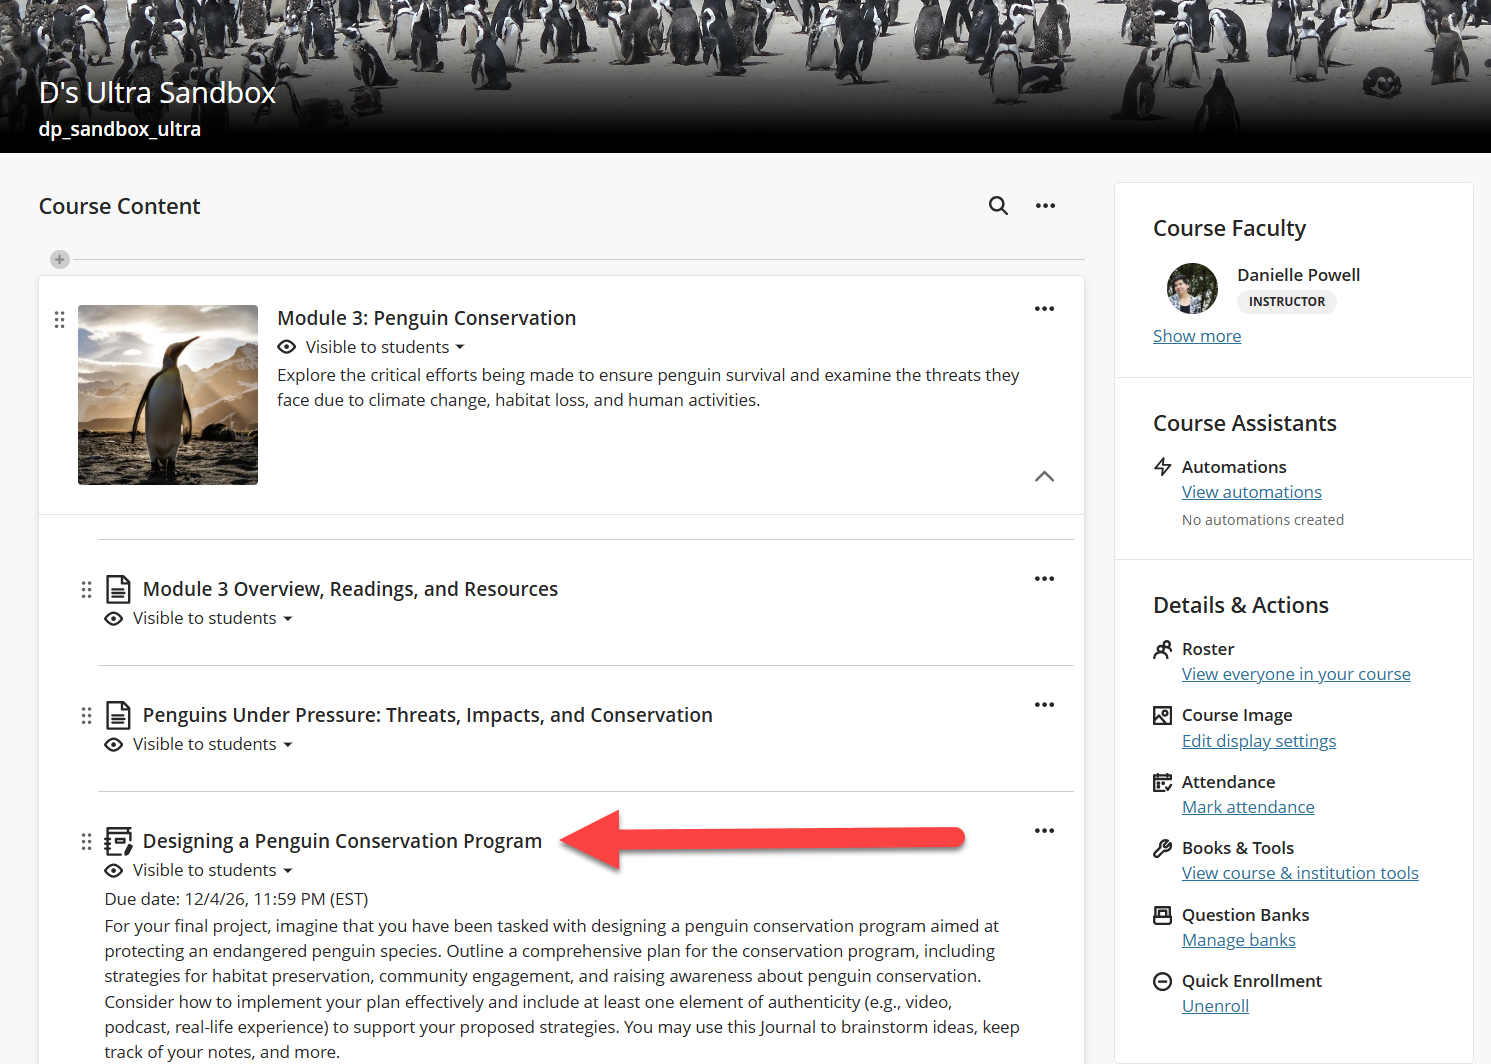
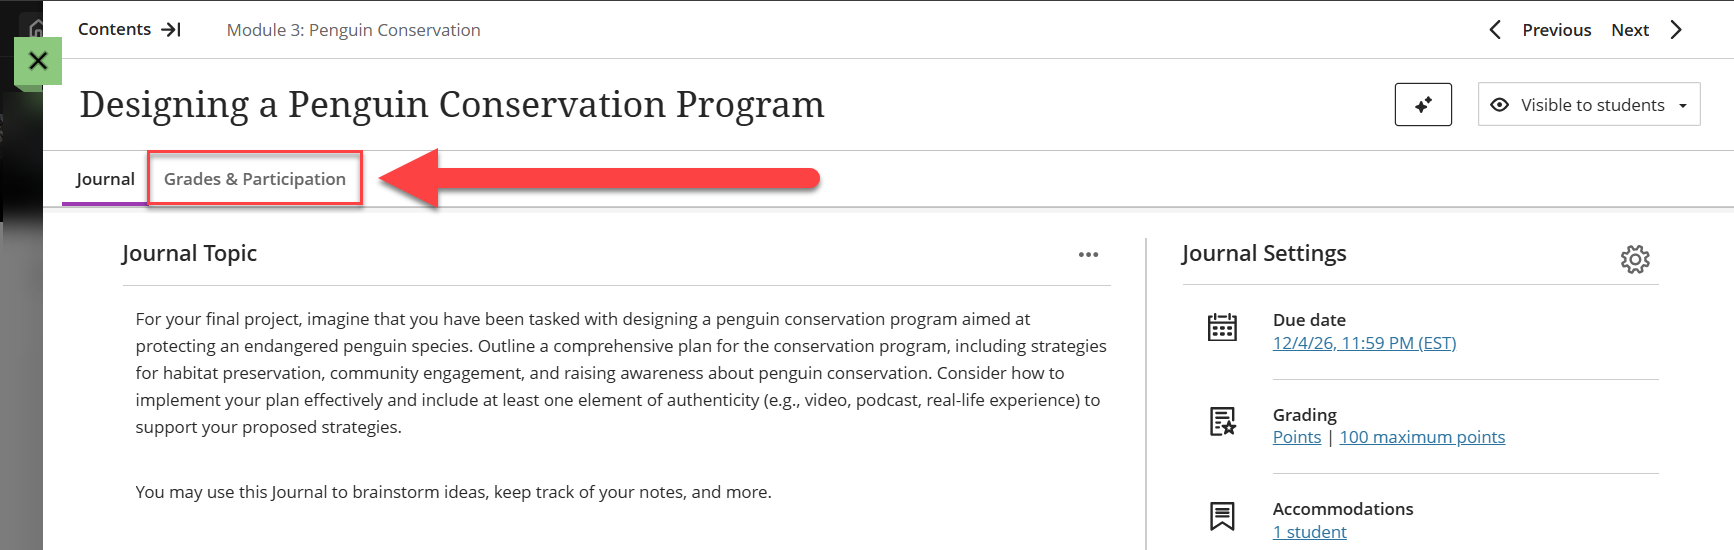
Locate the journal on your Course Content page (or within a Learning Module or Folder) and click the title to open.
This will open your journal. You will see your discussion topic and settings. Click the Grades & Participation tab (or Participation tab if your Journal is ungraded) to view your students' entries.
You will see a list of your students and their journal status (number of journal entries). If your journal is graded you will see their grade and whether or not the grade has been posted. Click on a student's name to view their entries.

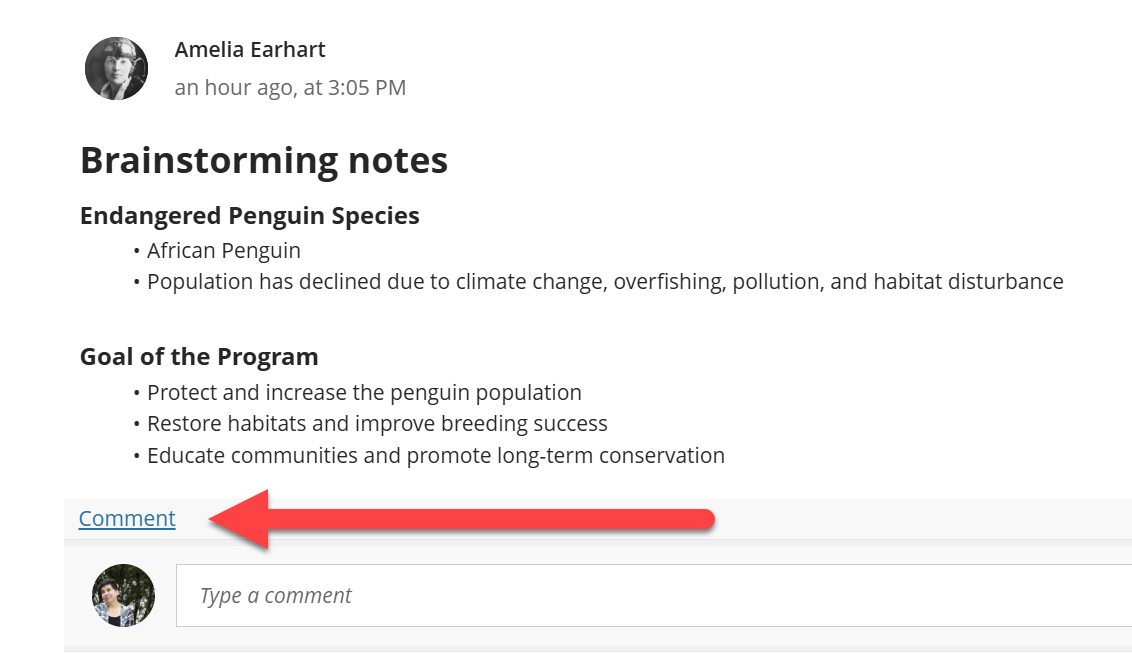
Once you select a student's name you can view and comment on their entries. If the student posted several journal entries you can adjust the number of entries to display on the page.

Select Comment below a student's entry to open the text/content editor and comment on their entry.
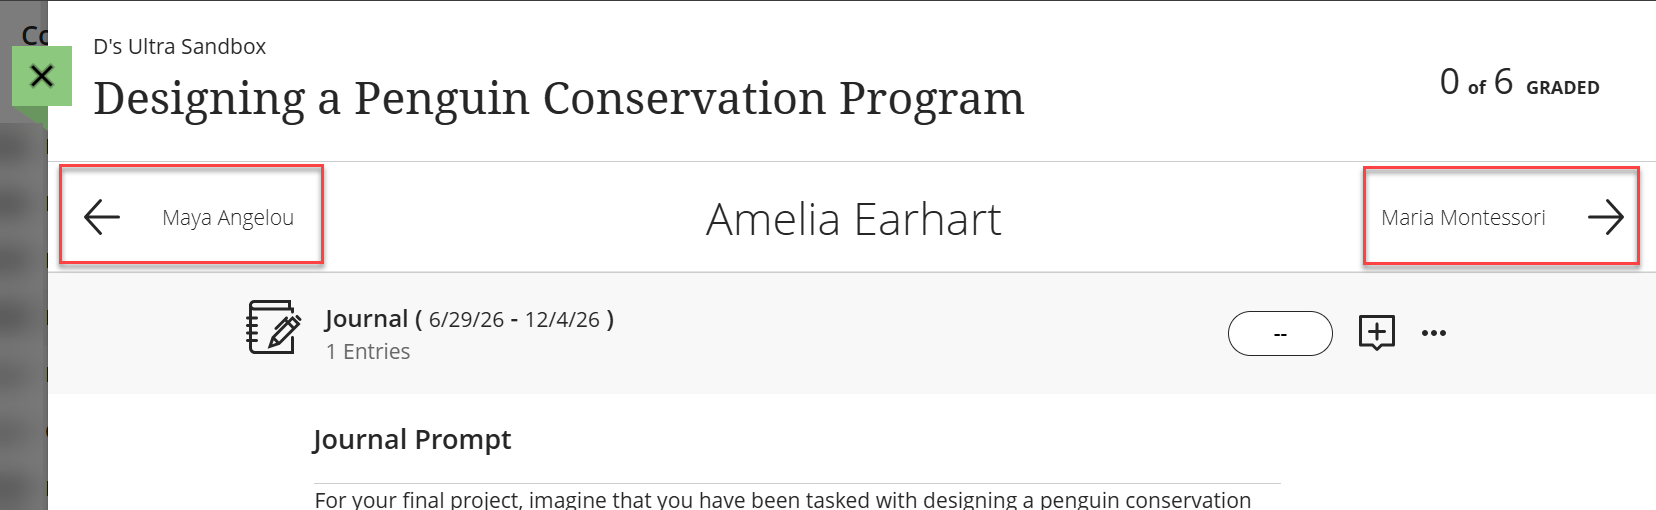
Use the navigation arrows at the top of the page to navigate to other students' entries. Or click the green X to return to the Grades and Participation list.
If your journal is graded, you may enter a grade in the grade pill. Click the Add Feedback button to provide some overall feedback on the jourmnal
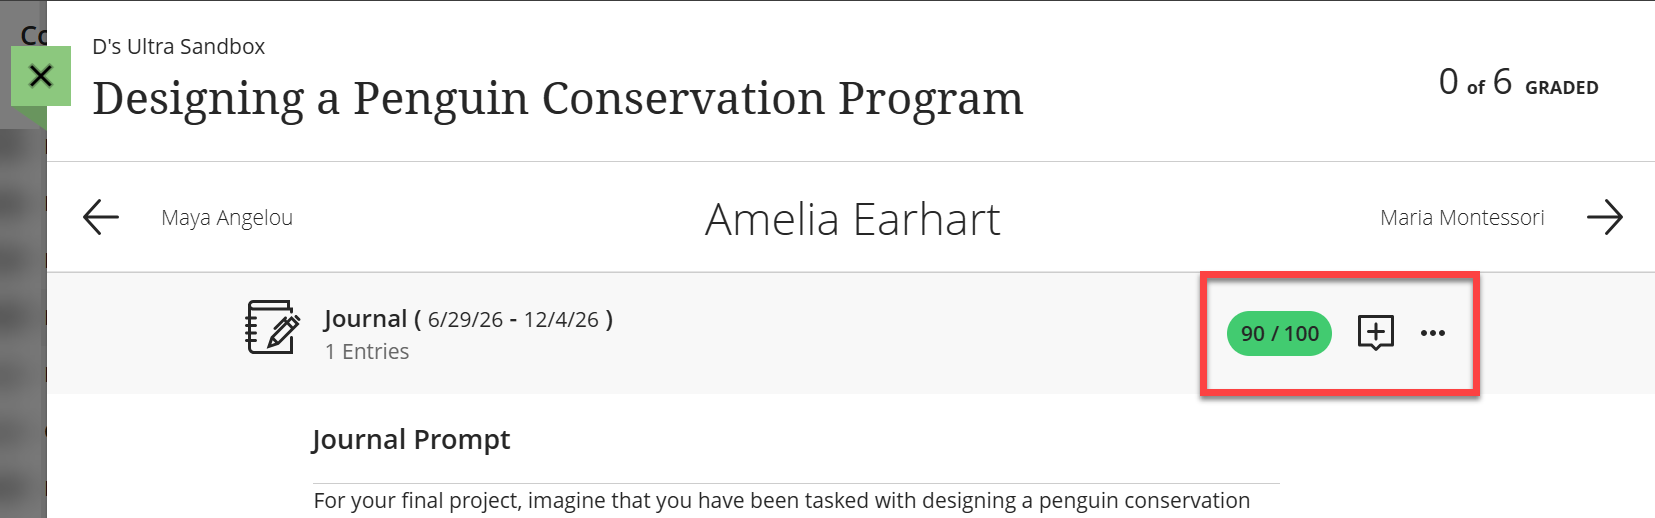
Note: In graded journals, students receive a grade based on their total contribution, not each individual journal entry.Grade Journals
 Journal Grade Settings
By default, journals are not a graded activity. When grading journals, you will provide one grade for the entire journal. Journal entries are not graded individually.
If you would like to grade your journal, go into the Journal Settings and select Grade Journal.
Once you select the option to grade your journal, additional Participation & Grading settings will appear in the panel.
- Due Date: Assign a due date for your journal. This is when the entire journal is due, not each individual entry.
- Grade category: By default, your journal will be assigned to the Journal category. You may select a different category or create a custom category in the Gradebook.
- Grade using: You may grade your journal using points, percentage, complete/incomplete, or letter.
- Maximum points: Enter the number of points your journal is worth (between 0 and 100).
- Use grading rubric: If you plan to grade with a rubric, click Add Grading Rubric to create or generate a grading rubric.
Click Save to save your changes.
Grade Student Work
You may grade your students' journals from the journal's Grades & Participation page. You may access this page from three areas:
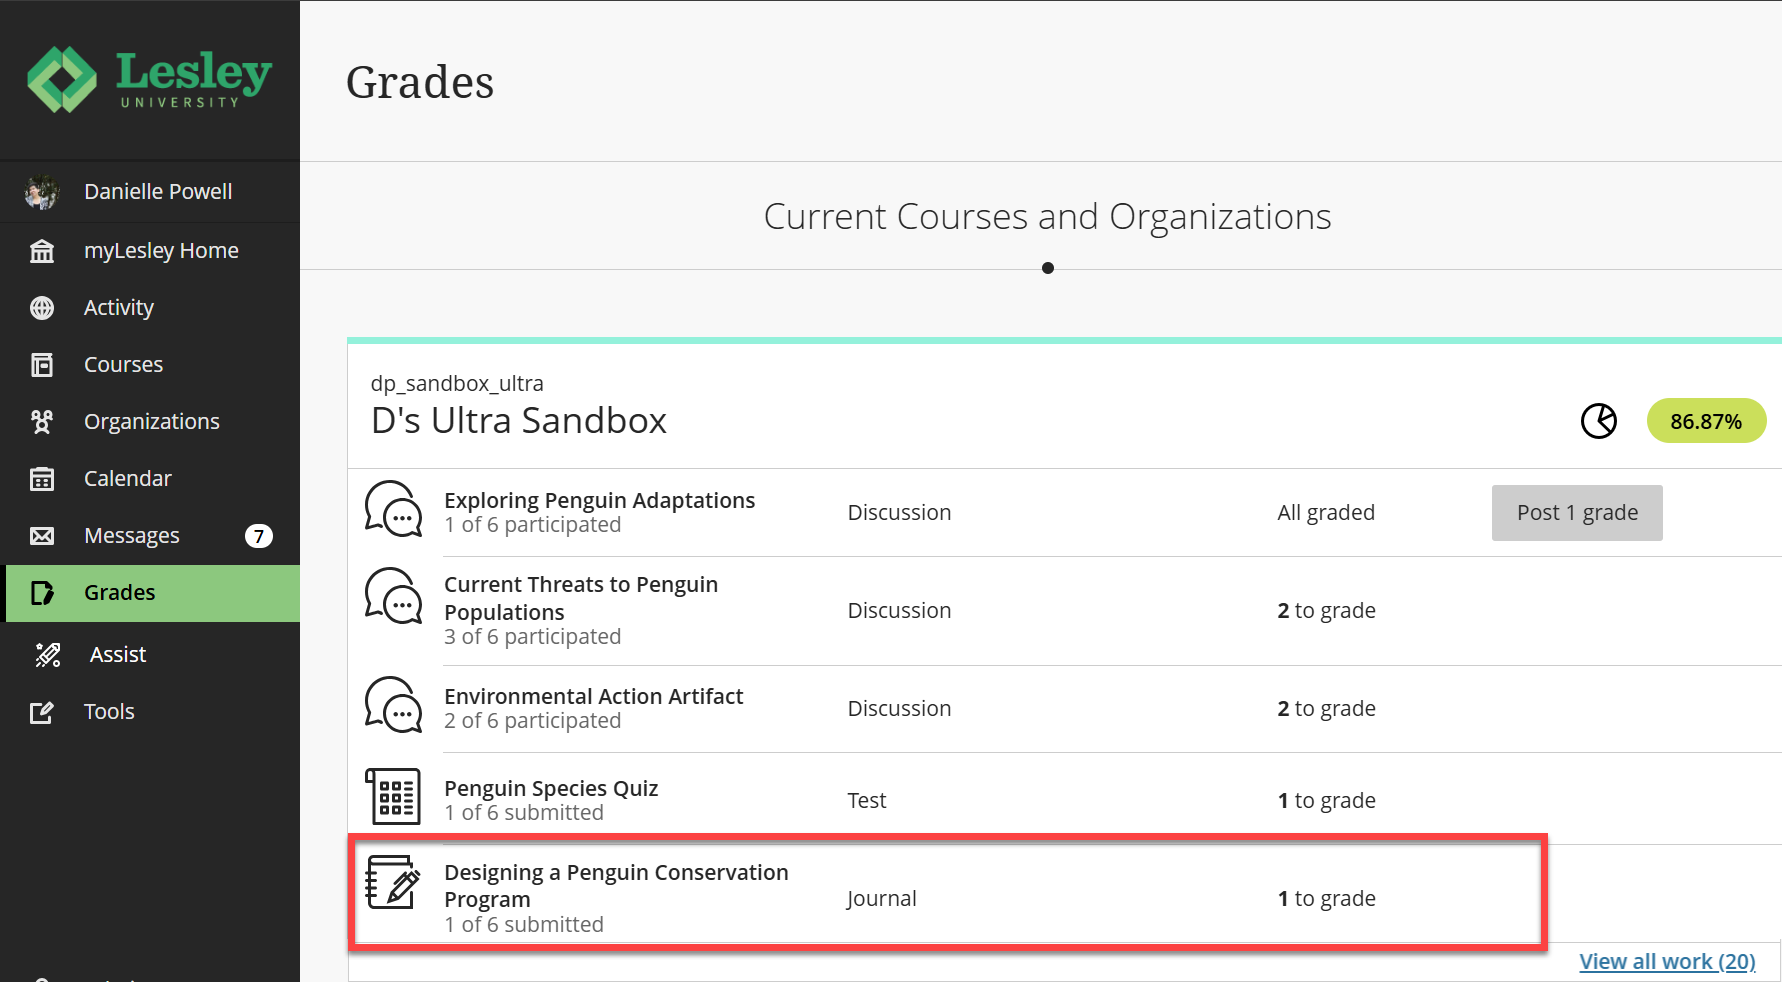
- From Base Navigation: Click on Grades to access your Global Gradebook, locate your course, and select the journal you want to grade.
- From your course Gradebook: Click on the Gradebook tab in your course and locate your journal. You may access it from the Gradable Items view or the Grades view.

- From within your journal: Open your journal and click on the Grades & Participation tab.

Once you arrive on the Grades & Participation tab, you will see a list of all of the students in your course, whether they have posted journal entries, their grading status, and their grade. Click on a student's name to begin grading their work.

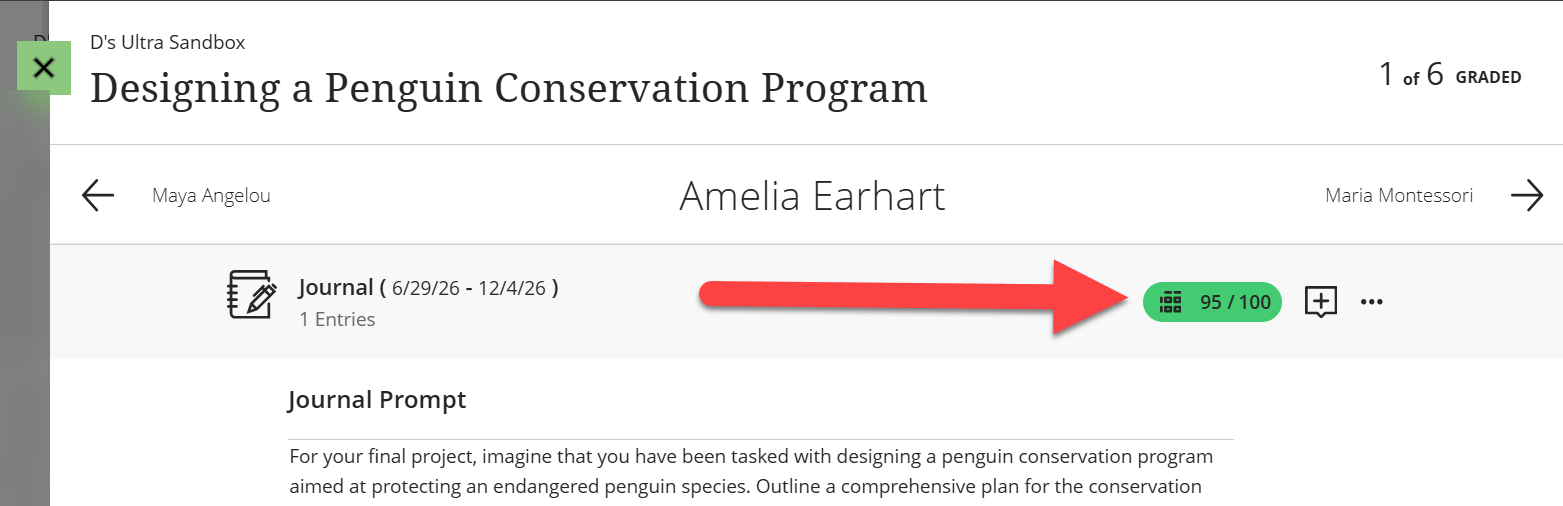
Once you have read the student's entries, click on the grade pill at the top of the page and enter the student's grade.
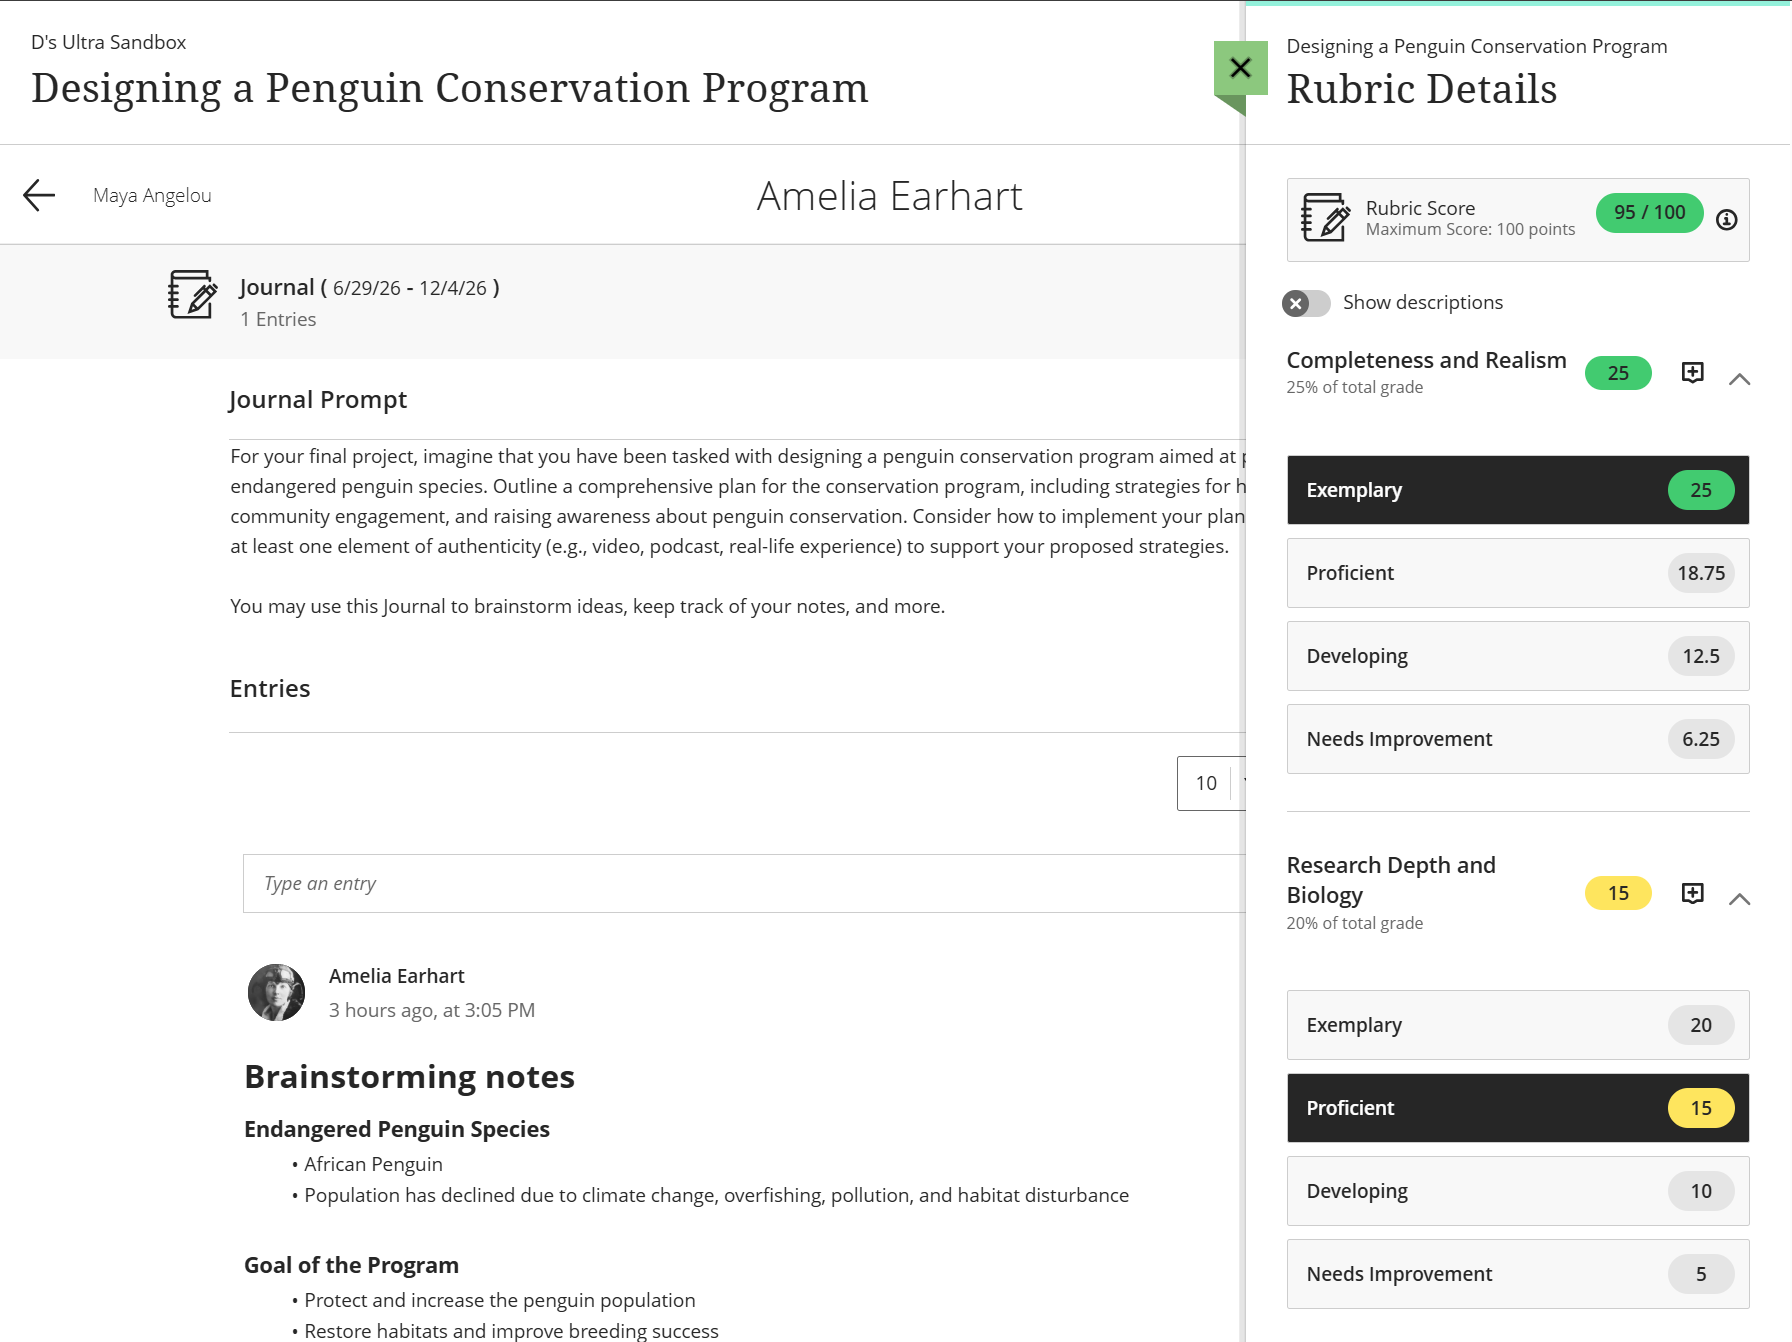
If you are grading with a rubric, clicking on the grade pill will open the Rubric Details panel. Assign a performance level to each criterion by selecting the desired score pill. The grade will update automatically. Refer to the Grade with Rubrics support page for more information and detailed instructions.
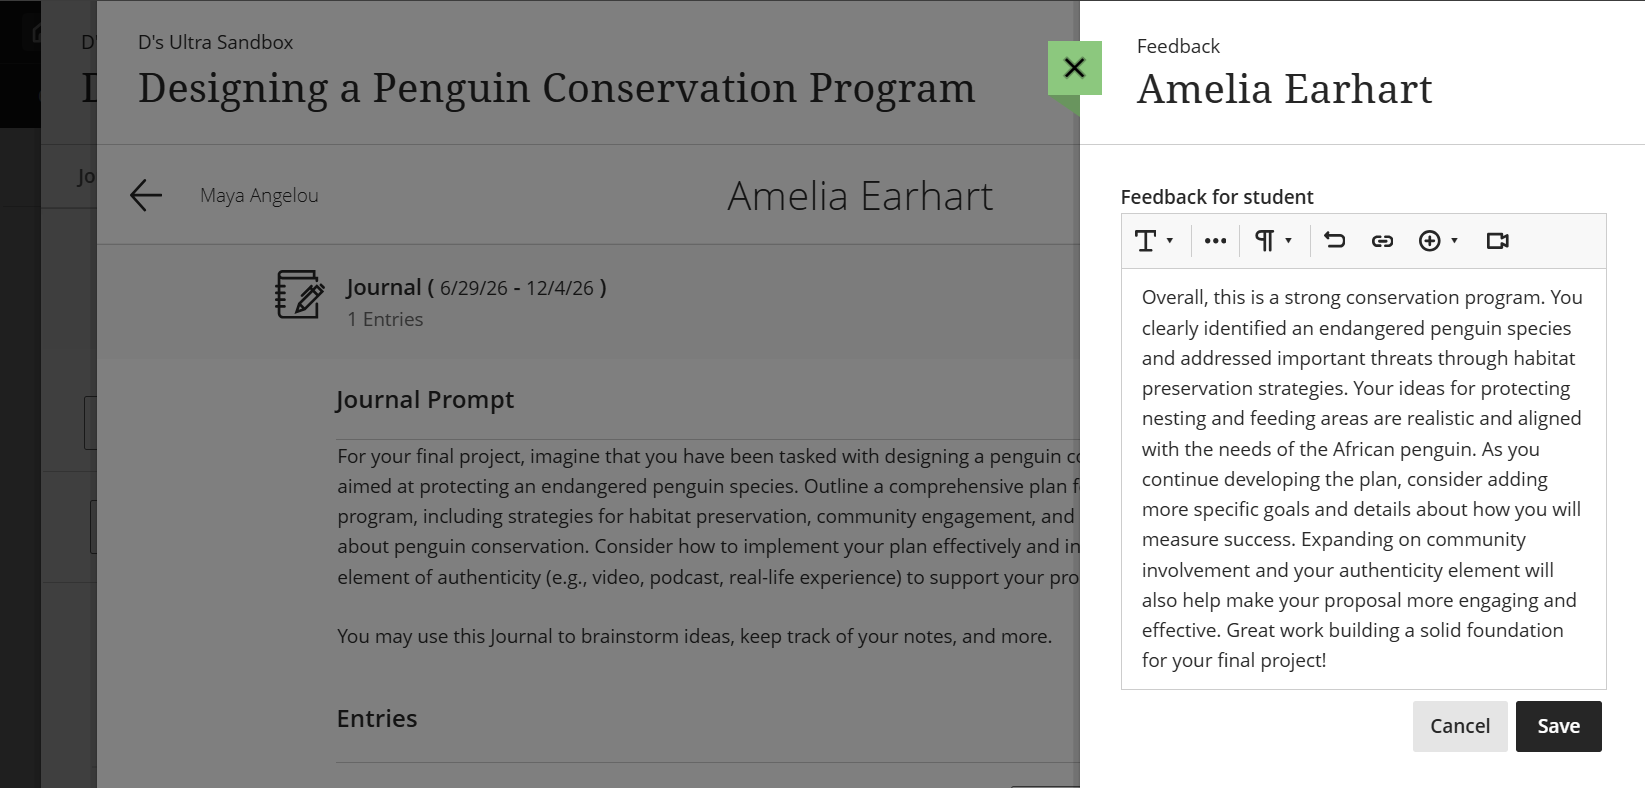
To provide feedback to your student, click on the Feedback icon (+) at the top of the page.
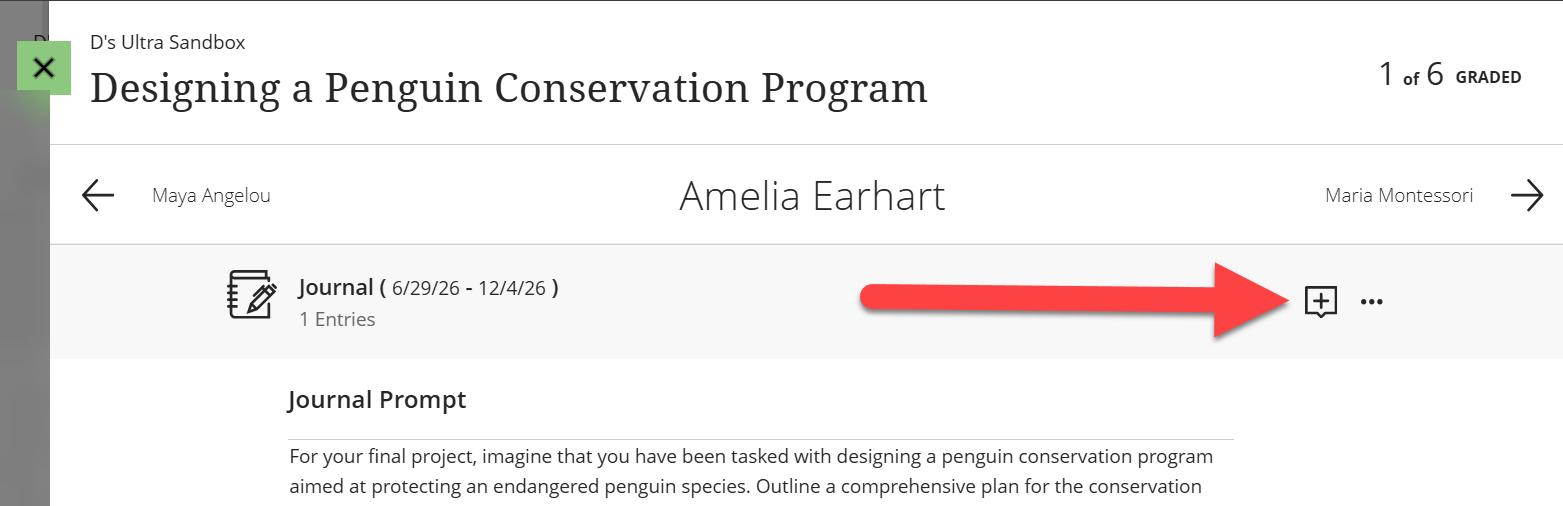
This will open the Feedback panel. Enter your feedback and used the text/content editor to format your text, add a link or attachment, etc. All feedback will remain private between you and the student.
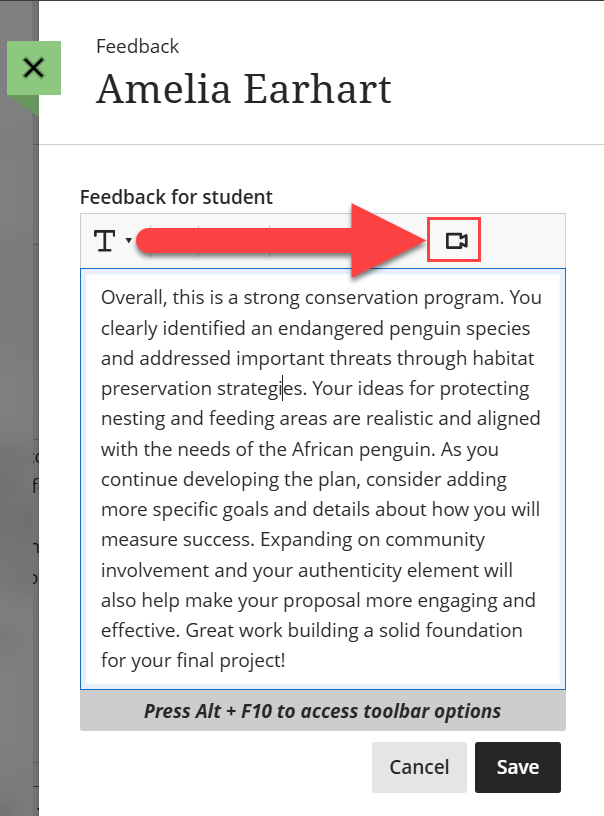
Use the Record Audio and Video Feedback option to add a video or audio recording of your feedback. Students can watch or listen to your feedback alongside any text you include.
Click Save to save your changes.
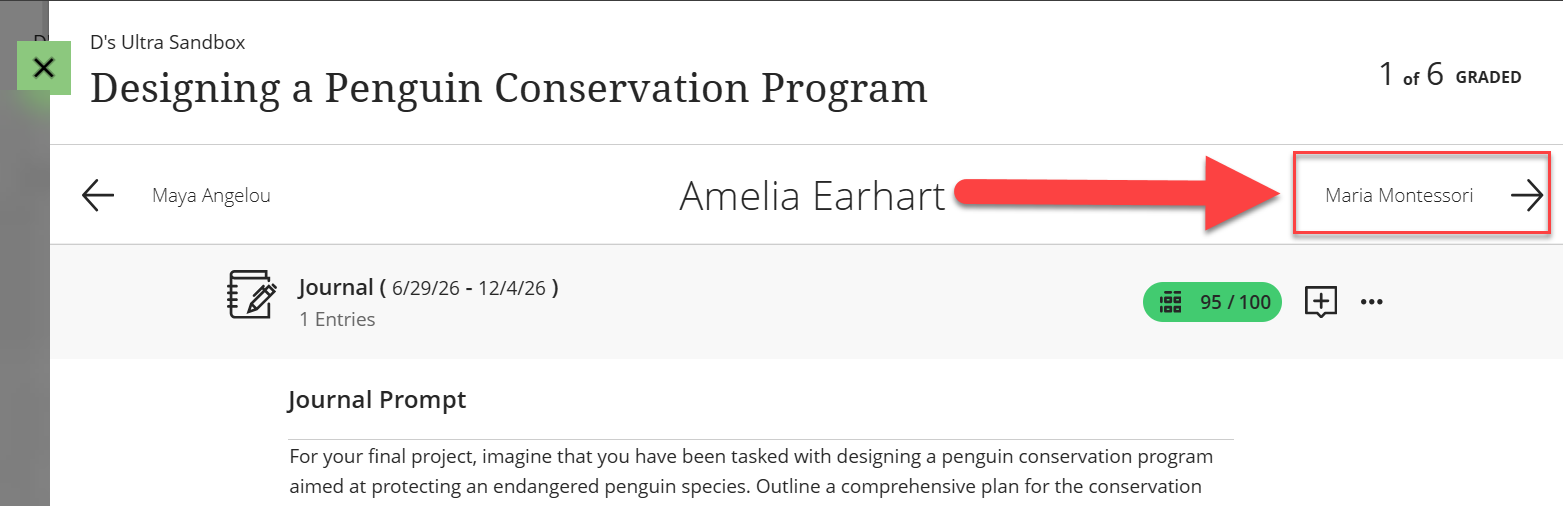
Once you have finished grading the student, you may click on the arrow at the top of the page to grade the next student. Or click on the green X to close the window and return to the Grades & Participation page.
Was this article helpful?
That’s Great!
Thank you for your feedback
Sorry! We couldn't be helpful
Thank you for your feedback
Feedback sent
We appreciate your effort and will try to fix the article